
A fertilizer calendar tells you what to apply in March.
A soil test tells you what is in each block before you apply anything.
Soil fertility management for commercial vegetable production works best when the lab report is the starting point and the purchase order follows from it.
This article takes a standard lab report and turns it into a written program: sample properly, correct pH and calcium and magnesium first, match nitrogen, phosphorus and potassium to what the crop removes, split applications across growth stages, and check the result with tissue tests during the season.
It is written for growers who buy fertilizer and amendments in volume, though the method works at any size.
Why a Soil Test Beats a Fertilizer Calendar
A calendar assumes every field is the same and every year repeats the last.
Neither holds.
Two blocks on one farm can differ in texture, organic matter, pH and the phosphorus and potassium left behind by earlier crops, manure or compost.
Applying the same blend to both means one block is underfed while the other is overfed and wasting money.
Phosphorus and potassium show this most clearly. Both can build up in soil over years of repeated applications, so a block with a history of compost or manure may need none of either.
A block with a long history of cropping and little replacement may be short of both.
Only a test tells you which situation you are in.
A standard soil report usually covers:
- pH and buffer pH (used to calculate lime)
- Organic matter and cation exchange capacity (CEC)
- Extractable phosphorus, potassium, calcium, magnesium and sulfur
- Micronutrients such as zinc, manganese, iron, copper and boron
- Sometimes soluble salts and nitrate
Nitrogen is the exception. Standard soil tests do not predict nitrogen supply reliably, because most soil nitrogen is held in organic matter and moves with rain and irrigation. Nitrogen rates come from the crop recommendation, adjusted for organic matter, the previous crop and any manure or compost applied. In-season tests then confirm what the crop is getting.
The program that results has four parts: correct the soil, supply what the crop needs, split the applications, and verify with tissue tests. Each section below covers one of them.
How to Sample Each Block So the Results Mean Something
A lab can only report on the sample it receives. A bad sample gives a precise number for the wrong thing, and you then spend real money acting on it.
Treat each uniform area as its own block.
A block shares one soil type, one cropping history and one management pattern. If part of a field is sandier, lower or was cropped differently, sample it separately, even if it sits inside a larger planting.
Within a block, a composite sample works like this:
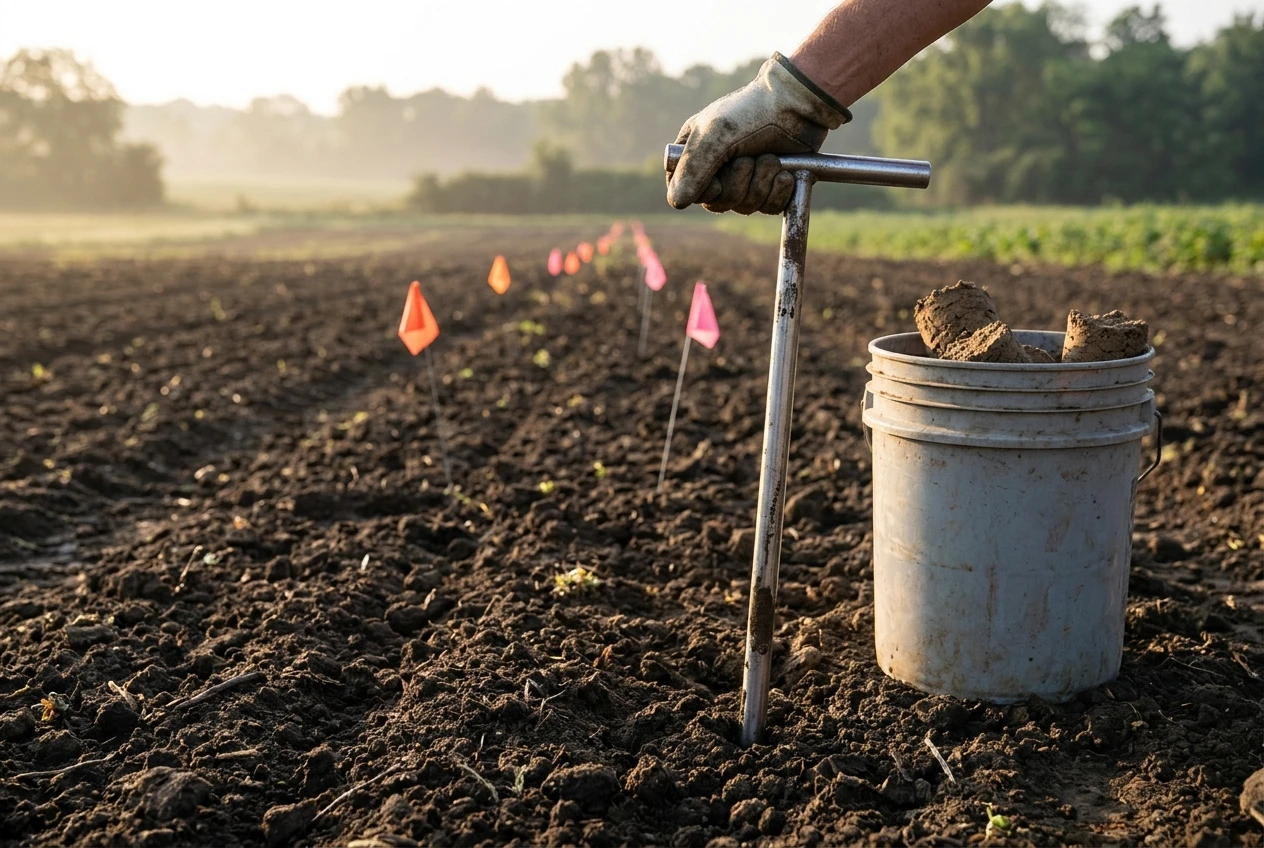
- Walk a zig-zag or grid pattern across the block.
- Pull cores to the depth you till, commonly around 6 to 8 inches, with the same tool and depth each time.
- Combine the cores in a clean plastic bucket and mix thoroughly.
- Fill the lab’s sample bag from the mixed soil and label it with the block name.
Your lab or extension service will say how many cores make a representative composite, so follow that instruction.
Avoid headlands, wet spots, areas that held fertilizer or lime piles, and recent fertilizer bands. If a spot is performing badly, sample it as a separate problem area instead of mixing it into the block average.
Timing matters as much as technique. Sample early enough that you can act on the results.
Lime reacts slowly and needs time to change pH before planting, so a test taken a few weeks before transplanting cannot correct an acidity problem in time.
Sample at roughly the same time each year, after the same crop stage, and send samples to the same lab using the same extraction method.
Results from different labs or methods are not directly comparable, so switching labs makes trends harder to read.
Keep a map of block boundaries and sampling points. That map lets you take the next sample from the same places and read changes over time instead of sampling noise.
Fix pH and Calcium and Magnesium Balance Before You Buy Any More Fertilizer
Soil pH controls how much of every other nutrient the crop can reach.
In acidic soil, calcium, magnesium and molybdenum become less available, while aluminum and manganese can reach levels that damage roots.
In alkaline soil, phosphorus, iron, manganese, zinc and boron are tied up and available only in small amounts.
Most vegetable crops do best in a slightly acidic range, roughly 6.0 to 6.8, with some exceptions such as potatoes, which tolerate more acidity. Check your crop’s target against your extension service’s guidance.
Fertilizing a block with the wrong pH wastes product.
The nutrients are in the soil or the bag but the crop cannot take them up efficiently. That is why pH correction comes first in the program.
Raising pH
Lime recommendations should come from the buffer pH or the lab’s lime requirement figure, not from the soil pH alone.
Two soils at the same pH can need very different amounts of lime depending on texture and organic matter.
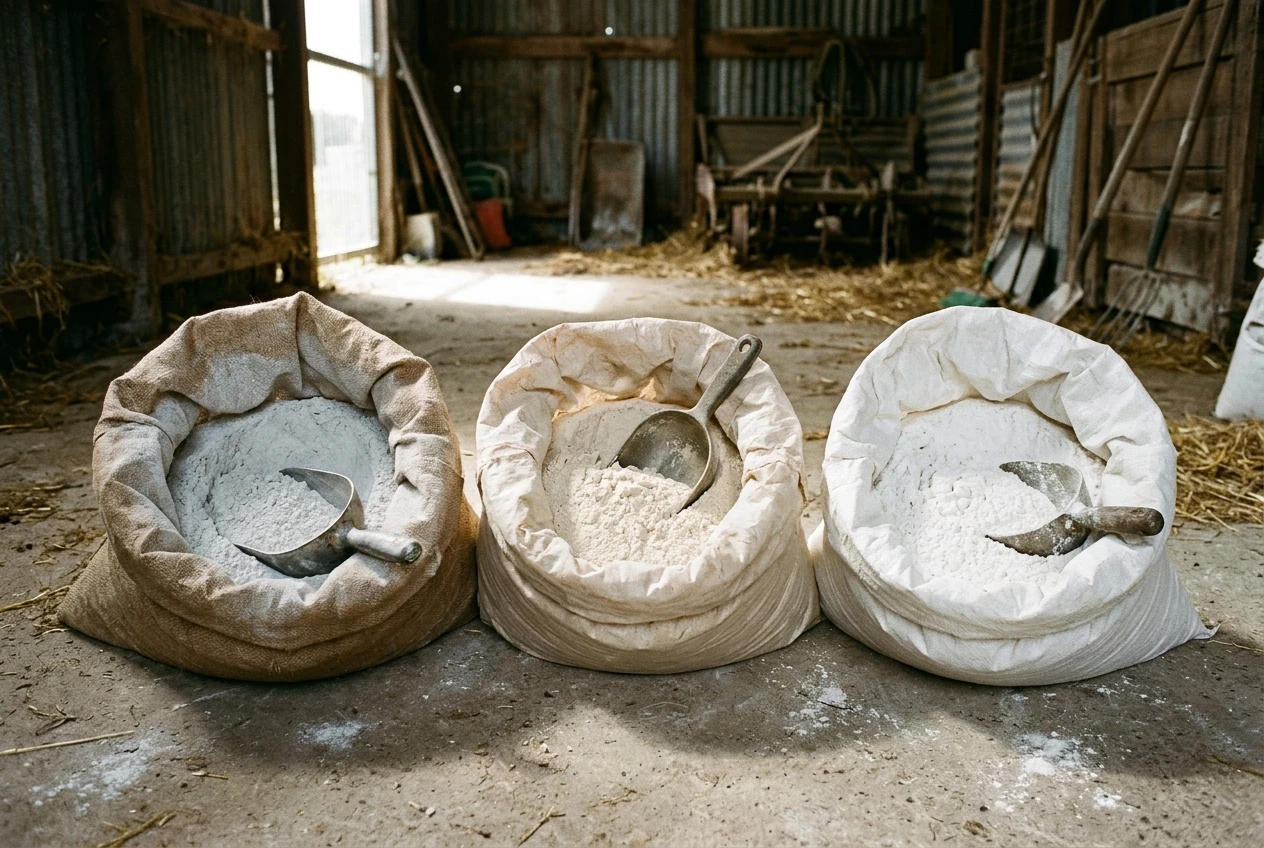
The choice of liming material depends on the magnesium result:
- Calcitic lime supplies calcium. Use it when magnesium is already adequate or high.
- Dolomitic lime supplies calcium and magnesium. Use it when pH is low and magnesium is also low.
- Gypsum (calcium sulfate) supplies calcium and sulfur without raising pH. Use it when pH is fine but calcium or sulfur is low.
Incorporate lime into the root zone where possible, and allow time for it to react before planting.
Apply in the season before the crop if you can.
Lowering pH
On alkaline soils, elemental sulfur lowers pH slowly as soil bacteria convert it.
How much it shifts depends on how strongly the soil resists change, and soils with free carbonates may resist almost completely.
In that case, manage the high pH with fertilizer choice and placement.
Banded phosphorus and acidifying nitrogen sources can help, and micronutrients can be supplied foliarly or by chelated products where the lab and tissue tests show a need.
Calcium, magnesium and potassium balance
Some labs report base saturation, the percentage of the soil’s exchange capacity held by calcium, magnesium and potassium, and recommend target ratios.
This approach is debated, and research on it has generally found that yield responds to having enough of each nutrient more than to hitting a specific ratio.
Use the ratios as a screening tool and base your decisions on the sufficiency levels your crop needs.
One interaction is worth watching.
High potassium can compete with magnesium uptake, so a block with generous potassium and marginal magnesium may show magnesium deficiency in the tissue even though the soil has some.
Correct it with magnesium, not by adding more potassium.
Before you spend on calcium for blossom-end rot in tomatoes or peppers, check water management.
The disorder is often driven by uneven irrigation limiting calcium movement into the fruit, even when soil calcium tests adequate.
Reading Nitrogen, Phosphorus and Potassium Numbers Against What Your Crop Removes
Once pH is in range, the report’s phosphorus and potassium values tell you how to apply these nutrients.
Most labs sort results into categories such as very low, low, optimum, high and very high.
Each category suggests a different strategy.
- Very low or low: Build-up. Apply more than the crop removes so soil levels climb into the optimum range.
- Optimum: Maintenance. Replace what the crop removes and no more.
- High or very high: Apply none and retest. Adding more costs money and can contribute to runoff problems.
Crop removal is calculated as yield multiplied by the nutrient content per unit of harvested crop.
Extension services publish removal tables for most vegetables, so use the figures for your crop and set a realistic yield goal for each block.
Maintenance applications then aim to replace that removal, adjusted for any nutrients supplied by compost or manure.
Nitrogen follows a different logic because it cannot be banked in the soil. Start from the recommended rate for the crop and yield goal, then subtract credits for:
- A preceding legume cover crop or crop residue
- Manure or compost applied, using the nitrogen availability figure from the product’s own analysis
- High organic matter, if your extension service recommends an adjustment
Some regions offer a late-spring soil nitrate test taken before side-dressing, which lets you decide whether the planned side-dress is needed at all.
A few points on the other nutrients:
- Phosphorus: Labs use different extraction methods, and the method matters. Calcareous, high-pH soils are usually tested with a different method than acidic soils, so confirm the one your lab used and read the category against that method.
- Potassium: Sandy soils with low CEC hold less and lose more, so they need more frequent smaller applications than clay soils.
- Sulfur and boron: Light soils with low organic matter are most likely to be short of both. Boron has a narrow gap between deficiency and toxicity, so apply only the rate the report and your crop guide call for.
Compost and manure are nutrient sources and should be counted.
Get a nutrient analysis for each batch and enter it into your program the same way you would a bag of fertilizer.
If you also grow at a smaller scale or want organic options by crop type, the article on matching organic fertilizer to heavy feeding, leafy and fruiting vegetables covers that ground.
Splitting Applications: Pre-Plant, Side-Dress and Fertigation by Growth Stage
A crop does not take up nutrients evenly. Uptake is slow in the seedling stage, rises during rapid vegetative growth, and for fruiting crops peaks again as fruit load develops.
Applying the entire season’s nitrogen at planting leaves much of it exposed to leaching and runoff before the crop can use it.
Splitting the program matches supply to demand.
The usual structure is:
Stage | What goes on | Purpose |
|---|---|---|
Before planting | Lime if needed, phosphorus, potassium, micronutrients, and part of the nitrogen | Correct the soil and give transplants or seedlings a base to root into |
Early to mid growth | Side-dress nitrogen, sometimes with potassium | Supply the crop as uptake rises |
Fruit set and fill (fruiting crops) | Nitrogen and potassium through fertigation or a late side-dress | Support fruit development without pushing excess leaf growth |
Your crop’s extension recommendation states how much of the nitrogen should go on before planting and how much later, and by how many splits.
Use that split as the starting point and adjust it to your soil.
Sandy soils and wet seasons call for more, smaller applications. Heavier soils can take fewer.
Pre-plant
Broadcast lime and the phosphorus and potassium called for by the soil test, and incorporate them.
Where soils are cold at planting, band phosphorus close to the row so young roots reach it early.
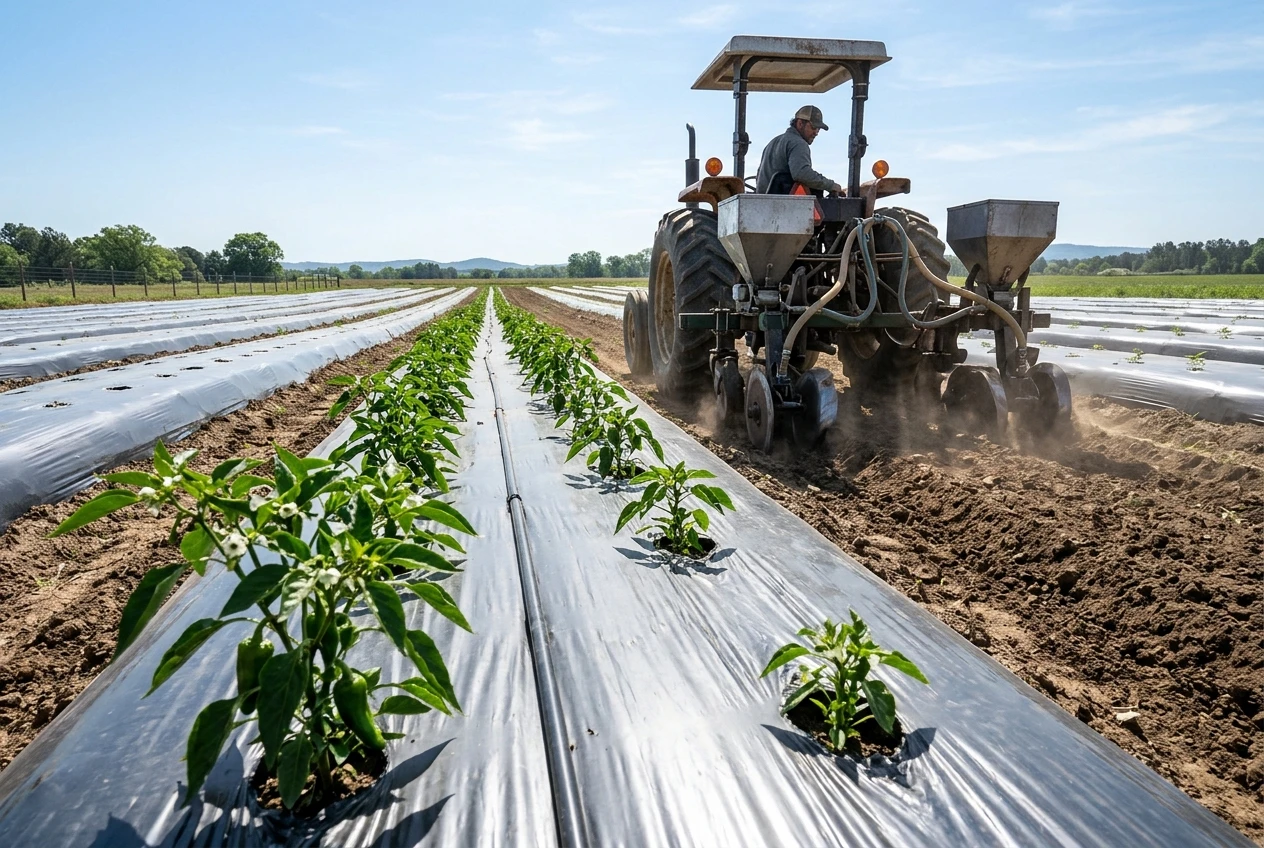
If you use plastic mulch, apply the base fertilizer before laying the plastic. Reaching the bed with a side-dress afterward is difficult.
Side-dress
Side-dress timing is tied to crop stage, not the calendar. For fruiting crops, the main nitrogen application typically goes on before heavy fruit set.
For short-season leafy crops, one early side-dress may be all the crop can use. Place the fertilizer to the side of the row and incorporate or irrigate it in, so it reaches the root zone.
Fertigation
Fertigation through drip lines allows frequent small doses matched to growth stage.
How well it works depends on the delivery system, because fertilizer reaches only the wetted zone and uniformity depends on emitter spacing and flow.
The article on choosing and setting up irrigation for vegetable beds explains how those systems differ, which affects how you schedule injections.
A few practical points:
- Use fertilizers made for injection, and check compatibility before mixing. Calcium combined with sulfate or phosphate fertilizers in one tank can form precipitates that clog emitters.
- Run clean water first, inject, then flush the lines with clean water so that no fertilizer solution sits in the system.
- Watch the solution’s salt level. Too much concentrated fertilizer in a small root zone can injure roots.
- Reduce or stop injections ahead of heavy rain, which pushes nutrients below the root zone.
Using Tissue Tests and Crop Signs to Correct Mid-Season
A soil test shows what the soil offers before planting.
A tissue test shows what the plants have taken up. The two can disagree because of root damage, waterlogging, compaction, cold soil or a pH problem that is limiting uptake.
Tissue testing is the check that catches the gap.

Collect tissue from the plant part and growth stage specified for your crop, because sufficiency ranges are published for a specific tissue at a specific stage.
The usual choice is the most recently matured leaf or its petiole. Sample enough plants to be representative, keep the sample clean and send it promptly to the lab.
If part of a block looks poor, collect one sample from the poor area and one from a healthy area at the same stage.
The comparison is often more informative than either result alone.
Some crops also have quick petiole sap nitrate tests that you can run in the field to check whether nitrogen is on track between lab results.
Visual symptoms give an early hint, and where they show up helps narrow the cause:
- Older leaves first: Nitrogen, phosphorus, potassium and magnesium move within the plant, so deficiencies appear on older growth as the plant pulls nutrients to new tissue.
- New growth first: Calcium, boron, sulfur, iron, zinc and manganese do not move easily, so deficiencies show on the youngest leaves and growing tips.
Symptoms alone are unreliable.
Disease, herbicide injury, root damage, waterlogging and compaction can all produce similar-looking leaves.
Confirm with a tissue test and a look at the roots before applying anything.
When tissue results show a shortfall, the response depends on the nutrient. Nitrogen and potassium can be added through fertigation or a quick side-dress.
Micronutrients can often be corrected faster with a foliar application, though the underlying cause, such as pH, should be addressed in the next season’s program.
Record every correction with its date and rate so you can see whether it worked.
Keeping Records So Each Season’s Program Improves on the Last
A fertility program is a document you revise each year.
Without records, each season restarts from the soil test alone and you lose the information that explains why numbers changed.
For each block, keep:
- Soil test results with date, lab and method
- Every amendment and fertilizer applied: product, nutrient analysis, rate, date and method of application
- Compost and manure analyses
- Crop, variety, planting date and yield, including marketable yield and quality notes
- Tissue test results and the corrections that followed
- Irrigation method and notable weather such as heavy rain or drought
With those records, a few useful calculations become possible.
You can compare nutrients applied to nutrients removed and see whether phosphorus and potassium are building, holding or falling.
You can work out fertilizer cost per unit of marketable yield, which is the number that shows whether a change paid for itself.
When you want to test a change, such as a different nitrogen rate or a new split, apply it to a strip of the block and leave an untouched strip beside it.
Compare yield and tissue results between the two strips. A single change on a single strip gives a clear answer. Several changes at once give results you cannot interpret.
Retest every block each year or at least on a regular schedule, and retest sooner after a large lime application or a change in cropping.
Each new report goes into the file next to the previous ones, and the trends in pH, phosphorus, potassium and organic matter decide the next season’s amendments and purchases.
Pull your most recent soil test report for one block and work through the pH, balance and split-application checks in this article before you place your next fertilizer or amendment order.