
Choosing irrigation for a large production area is mostly a matter of fitting equipment to a water supply, a set of blocks and a crop.
Pumps, pipe and emitters that suit your field will waste less water than a better-advertised system that was designed around someone else’s.
A grower who works through the field first and the catalog second ends up with a system that applies water evenly, and even application is what saves water.
This guide covers commercial irrigation system selection for vegetable, fruit and cut flower growers, working from the water source outward to the equipment you take to a supplier.
Start with the water you have: source, quality, flow rate and pressure
Every other decision depends on what your source can deliver, so measure it before you shop.
Whether the water comes from a well, a pond, a river, a reservoir or a municipal line, you need to know four things.
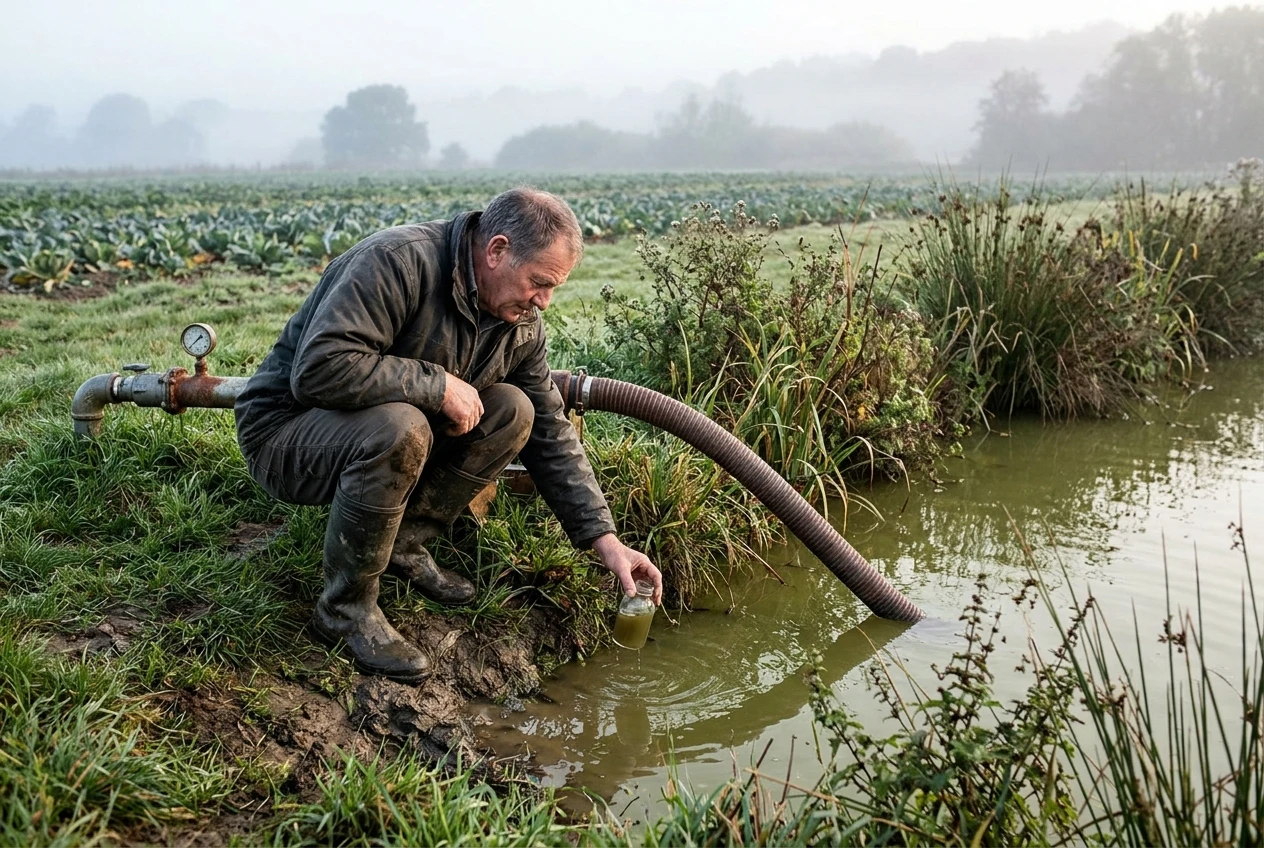
- Flow rate. This is how much water the source can supply continuously, measured in litres or gallons per minute. It sets how much area you can irrigate at the same time. A source that delivers modest flow can still serve a large farm if the farm is split into zones that run one after another.
- Pressure. Static pressure at the source and the pressure available once the pump is running are different numbers. Ask for both.
- Peak-season supply. Wells draw down and streams drop in dry weather, which is when your crops need the most water. Test the flow in the driest part of your season, not in spring.
- Quality. Send a sample to a laboratory. Iron, manganese, hardness, dissolved salts, pH and suspended solids all affect equipment. Iron and hardness cause clogging in drip lines. Surface water carries algae, silt and organic matter that foul filters quickly. High salinity affects the crop directly and changes how much water you need to apply to leach salts past the roots.
Check your local rules on water rights, abstraction permits and reporting before you design anything.
They can cap how much you may draw, and a design built around a volume you are not allowed to take is wasted money.
Map your blocks by crop, soil and slope before you look at any equipment
Draw the farm as a set of blocks, each one a stretch of ground with the same crop, similar soil and similar slope.
Each block will become an irrigation zone, so a block that mixes unlike conditions will always be over-watered in one part or under-watered in another.
For each block, record:
- Crop and root depth. Shallow-rooted salad crops and onions need small, frequent applications. Deep-rooted fruit trees and established perennials can draw from a larger volume of soil and tolerate longer intervals.
- Soil texture. Sandy soil drains fast and spreads water mostly downward. Clay soil takes water in slowly and spreads it sideways, so it needs lower application rates to avoid runoff. Loam sits between the two. A soil survey or a few test pits will tell you more than a guess. If you are already running soil tests to plan nutrition, the same results help here, and the process is covered in soil fertility management for commercial vegetable production.
- Slope and elevation change. Water pressure rises as pipe runs downhill and falls as it runs uphill. A block with a significant elevation difference will deliver unevenly unless the design compensates for it.
- Shape and row layout. Long rows, short irregular beds and tree rows each suit different layouts. Note row spacing and orientation.
- Planting and harvest timing. Blocks planted at different times often need to be watered on different schedules, which is another reason to separate them.
Put the map on paper with measurements. A designer or supplier can only quote accurately if they can see the real dimensions and elevations.
Drip, micro-sprinklers, overhead and pivot: where each one suits a production system
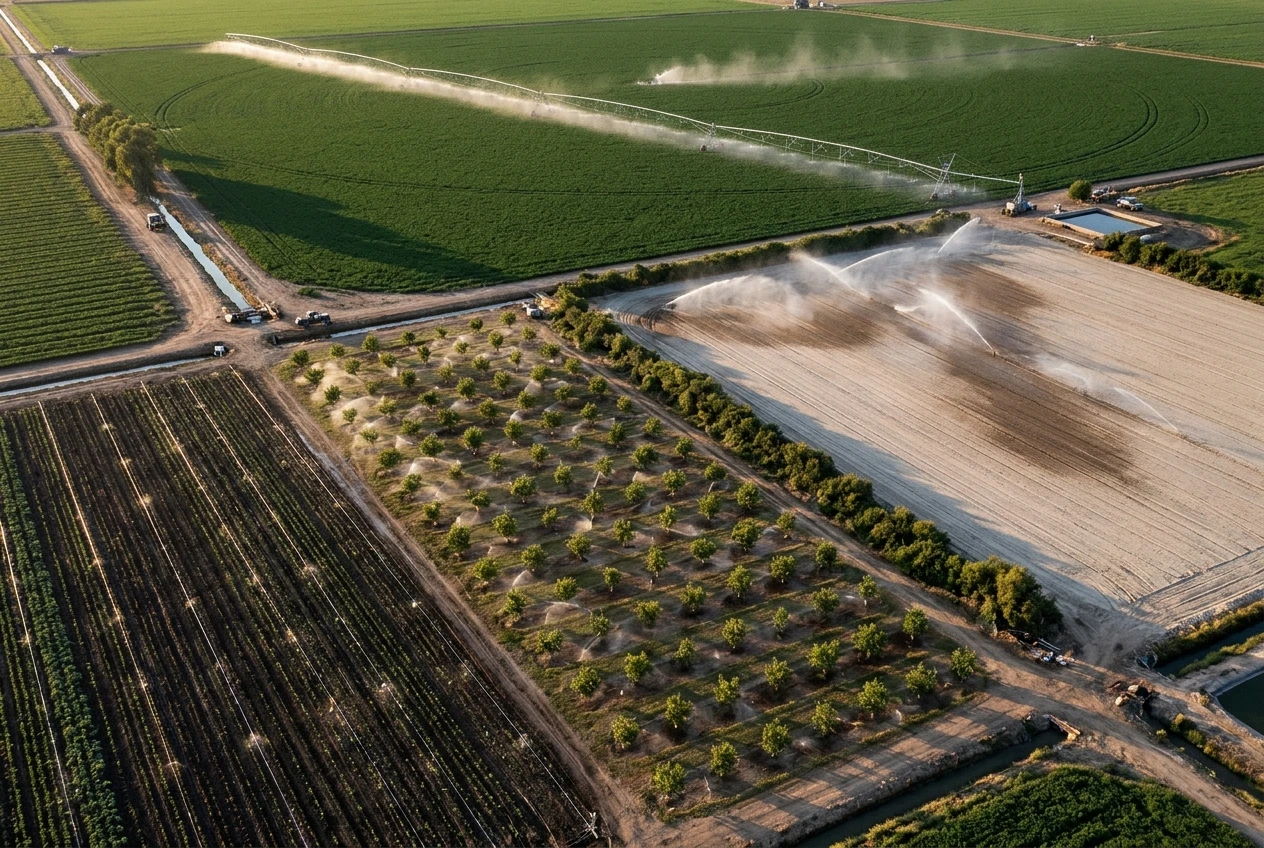
Each type of system suits particular crops and layouts. Compare them on how precisely they put water where the roots are.
System | Best suited to | Watch for |
|---|---|---|
Drip tape or drip line | Row vegetables, berries, cut flowers in rows, orchard and vine rows | Needs good filtration; lines can be damaged by rodents, tillage and harvest traffic |
Micro-sprinklers | Tree fruit, nursery stock, wider beds where a larger wetted area helps | Wind affects the pattern; small nozzles clog |
Overhead sprinklers (solid set or moving) | Germinating direct-seeded crops, crops that benefit from cooling or leaf wetting | Evaporation and drift; wet foliage raises disease pressure on susceptible crops |
Center pivot or linear move | Large, flat, open fields of uniform crops | High capital cost; poor fit for small, irregular or hilly blocks |
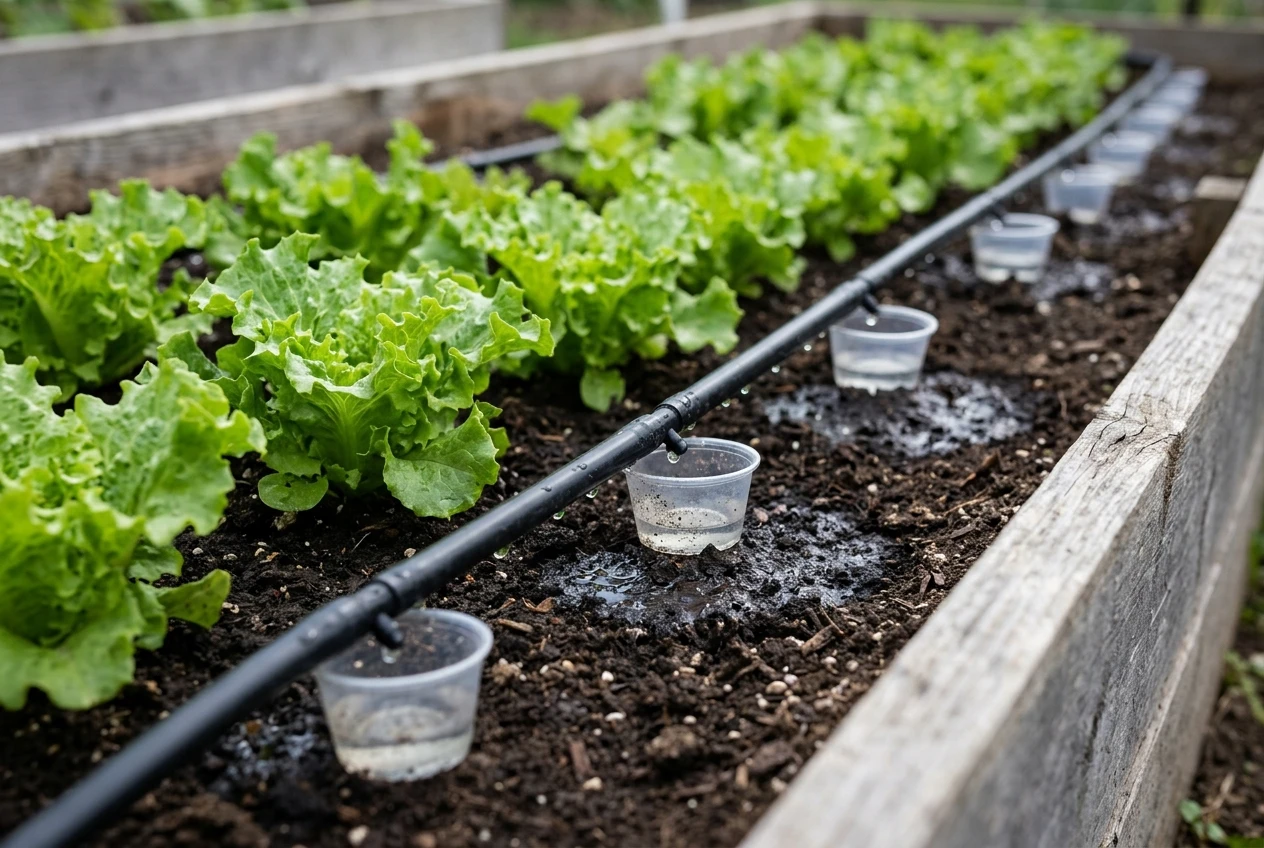
Drip delivers water at or near the root zone, wets little foliage and loses little to evaporation or wind.
It is the usual choice for vegetables, berries and cut flowers grown in rows.
Thin-walled drip tape is common on annual crops that are replanted each season. Thicker-walled drip line is used where it will stay in place for years, as in orchards.
Micro-sprinklers cover more soil than a single drip emitter, which helps with young trees, wide beds and soils where water does not spread sideways on its own.
They use more water than drip for the same crop but give roots a larger zone to explore.
Overhead sprinklers are useful where the whole soil surface needs wetting, such as getting small seeds to germinate. They also cool a crop in heat.
Their weakness is uniformity: wind, pressure variation and overlapping spray patterns all change how much water reaches each square metre.
On crops prone to foliar disease, wet leaves are a real cost.
Pivots and linear systems suit big, level, uncluttered fields. They cover large areas with little labor, but the sprinkler package at the nozzles determines the efficiency, and the field shape has to fit the machine.
Many farms use more than one type.
A vegetable operation might run drip on its main row crops, overhead on a germination block and micro-sprinklers on an orchard strip.
Pumps, filtration and pipe sizing: the parts that decide whether the system is even
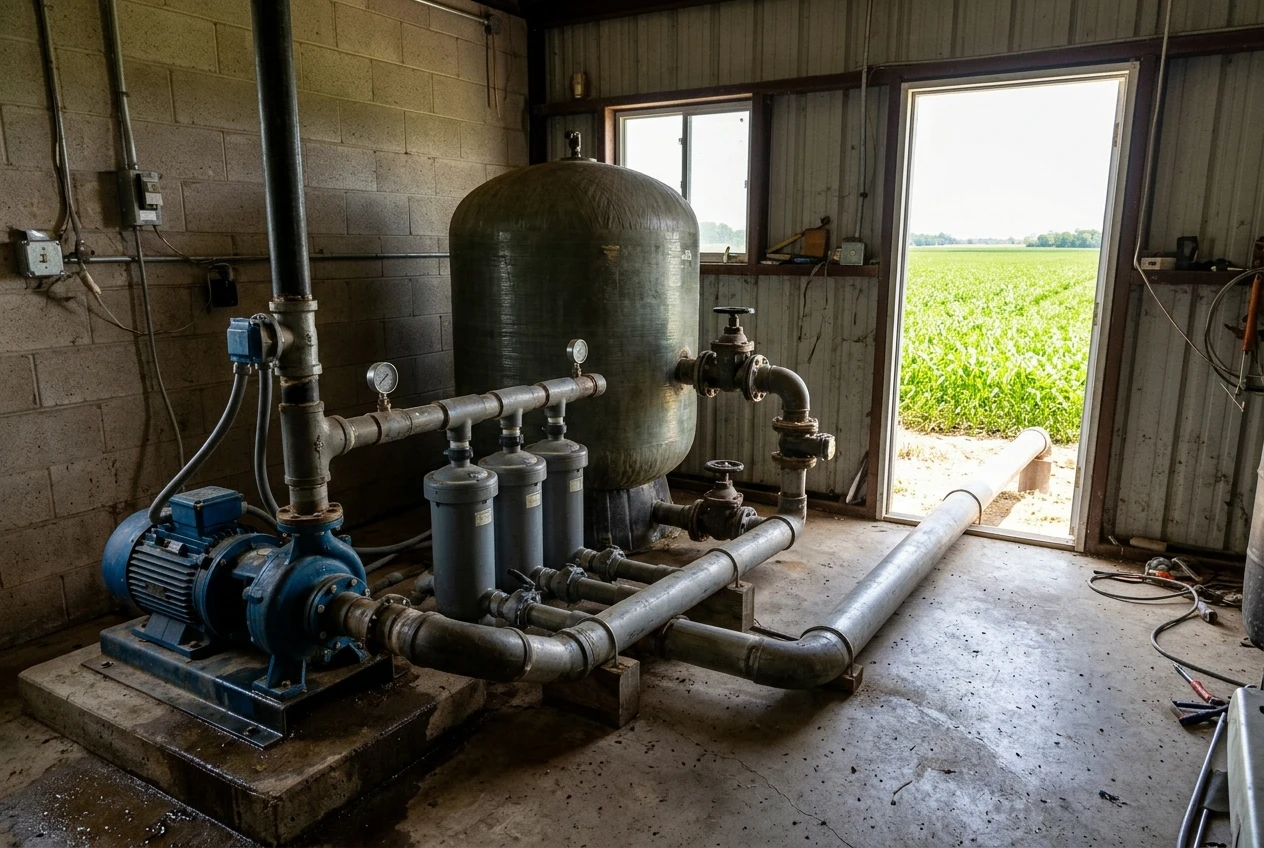
Emitters get the attention, but the pump, filters and pipework determine whether every emitter in a block receives the same pressure.
Pumps
A pump has a performance curve: it delivers a certain flow at a certain pressure, and the two trade off against each other.
The pump you want is the one whose curve crosses your system’s requirement near its most efficient point.
A pump that is too large wastes energy and may over-pressurize the lines. One that is too small cannot run the zone at its designed pressure.
If your zones differ in flow demand, ask your designer about a variable frequency drive, which adjusts pump speed to the load.
Filtration
Match the filter to the water and to the emitter.
The emitter manufacturer specifies how fine the filtration must be, and it is usually finer for drip than for sprinklers.
- Screen and disc filters suit relatively clean water.
- Media (sand) filters handle organic loads such as algae from ponds and surface water.
- Sand separators remove sand from well water before it reaches the finer filters.
Add a pressure gauge before and after each filter.
The difference between the two tells you when the filter needs cleaning, and automatic backflushing is worth considering on large systems with dirty water.
Pipe sizing
Water loses pressure to friction as it moves through pipe. Narrow pipe, long runs and high flows lose more.
If the mains are undersized, the emitters nearest the pump get high pressure and those at the far end get low pressure, and the crop shows the difference.
Ask your designer for the friction-loss calculation for each main, submain and lateral, and for the pressure at the first and last emitter in each zone.
Pressure regulators, check valves, air release valves and flush valves at the ends of lines belong in the design too.
They protect the system and keep it uniform.
Emitters, spacing and zones: designing for uniform delivery
Distribution uniformity describes how evenly a system applies water across a block.
When it is low, you have to run the system longer to get enough water to the driest spot, and every other spot receives too much.
Improving uniformity is the most direct way a system saves water.
Several design choices control it:
- Emitter flow rate. Choose a rate the soil can absorb without ponding or runoff. Clay generally needs lower rates than sand.
- Emitter spacing. In sandy soil, water moves down more than sideways, so emitters need to be closer together for the wetted zones to meet. In heavier soil, wider spacing can work. Spacing also has to match plant spacing, so that each plant has water at its roots.
- Pressure-compensating emitters. These hold their flow steady across a range of pressures. They are useful on long laterals and sloping ground, where pressure differs along the line. They cost more than standard emitters, and on a long or uneven block the extra cost often pays for itself in uniformity.
- Lateral length. Every drip product has a maximum recommended run length at a given flow. Longer runs lose pressure at the end. Take the limit from the manufacturer’s specifications for the exact product, not from a general rule.
- Zone size. Each zone should be small enough that your pump and mains can deliver design pressure to all of it at once, and uniform enough in soil and crop that one schedule suits the whole zone.
After installation, test the result.
For sprinklers, a catch-can test measures how much water lands at different points across the pattern.
For drip, collect the output from emitters near the start, middle and end of several laterals and compare.
Large differences point to a pressure, filtration or layout problem you can fix before the crop is in the ground.
Controllers, soil moisture sensors and flow meters: scheduling by what the crop needs
An even system still wastes water if it runs at the wrong time or for the wrong duration.
Scheduling tools let you apply water according to the crop’s needs and the soil’s condition.
Controllers start and stop each zone on a programmed schedule.
Pick one that can handle as many independent zones as your design has and that lets you adjust run times by zone, since crops and soils differ.
Some controllers can adjust for weather, and some can be operated remotely. Whether that matters depends on how spread out your farm is and how quickly you need to respond.
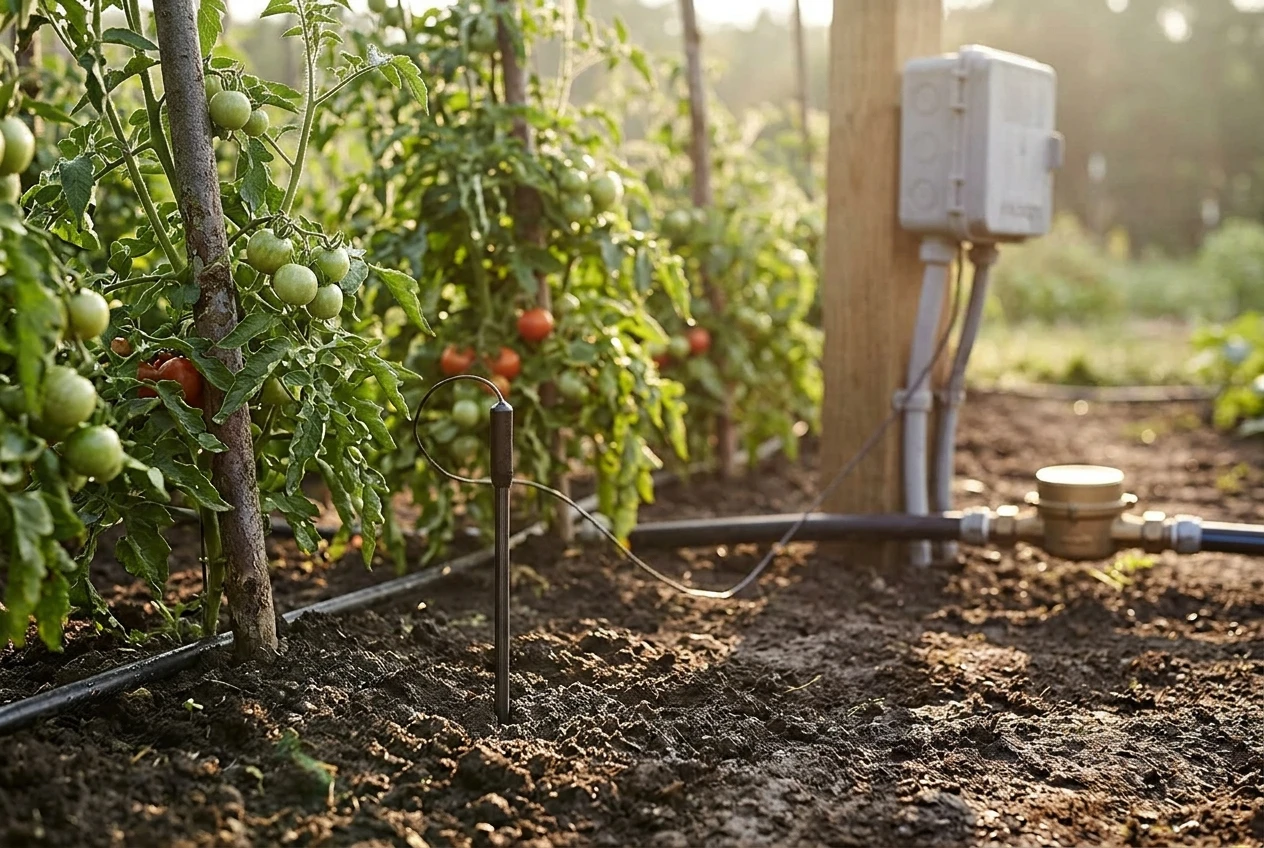
Soil moisture sensors show what is happening in the root zone.
Install them at root depth, and ideally at a second depth below it so you can see whether water is moving past the roots.
Place them in representative spots in each block, not in the best or worst corner.
Sensors read differently in different soils, so use them to watch trends and to confirm your schedule rather than expecting one reading to answer every question.
Flow meters record how much water a zone or the whole system uses.
This has two benefits. First, you get a record of actual water use per block and per crop, which you can compare across seasons.
Second, a sudden rise in flow at a given zone suggests a leak or a broken line, and a gradual drop suggests clogging.
Check readings against the baseline you recorded when the system was new.
Combine these with your own observation of the crop. A sensor, a meter and a walk through the rows will each catch problems the others miss.
Maintenance routines that keep an efficient system efficient
A well-designed system loses uniformity if it is not maintained. Build these tasks into the farm calendar:
- Flush the lines. Open the flush valves at the ends of laterals and mains on a regular schedule so that sediment and slime do not accumulate. Dirtier water calls for more frequent flushing.
- Clean the filters. Use your pressure gauges to decide when. A growing pressure difference across a filter means it is loading up.
- Check pressure. Read gauges at the pump, at the start of each zone and at the far end. Falling pressure usually means a leak, a clogged filter or a worn pump.
- Walk the blocks. Look for wet spots, dry spots, broken lines, displaced emitters and animal damage. Do it while the system is running so you can see the pattern.
- Treat for clogging. If your water test showed iron, hardness or heavy algae, ask your supplier what treatment suits your emitters and water, and follow the product directions. Acid and chlorine treatments have specific safe rates and are not interchangeable.
- Service the pump and controller. Follow the manufacturer’s service intervals and check that sensors, batteries and wiring are still working.
- Prepare for the off-season. Drain lines that could freeze, protect the pump and filters, and store removable components according to the manufacturer’s instructions.
Keep a simple log of flows, pressures and repairs. Over time it shows which blocks cause trouble and when performance starts to slip.
A buying checklist to take to your irrigation supplier
Bring your water test, your block map and your list of crops. Then ask each supplier the same questions, so you can compare quotes on the same basis.
About the design
- What flow and pressure did you assume for my water source, and how did you confirm them?
- How have you divided the farm into zones, and why?
- What are the friction-loss calculations for my mains, submains and laterals?
- What pressure will the first and last emitter in each zone receive?
- What distribution uniformity do you expect, and how will we measure it after installation?
About the equipment
- Which pump are you proposing, and where does its curve sit relative to my design flow and pressure?
- What filtration do you recommend for my water analysis, and what does the emitter manufacturer require?
- Do you recommend pressure-compensating emitters for my slopes and lateral lengths? Why or why not?
- What is the maximum lateral length for the product you are quoting, at the flow I will run?
- Which valves, regulators, air vents and flush points are included?
About control and monitoring
- How many zones can the controller run independently, and can I set a different schedule for each?
- Where would you place soil moisture sensors and flow meters, and what do they connect to?
About support
- What maintenance does this system need, and how often?
- What does the warranty cover, and what voids it?
- Which parts are likely to need replacing first, and are they stocked locally?
- Who can I call when a zone underperforms, and how quickly can they respond?
Take the list to a supplier
Print this checklist, add your water test and block map, and bring them when you request a design or quote from the irrigation suppliers this site points you to.
A supplier who answers these questions with numbers and reasons is giving you something you can compare.
One who answers in general terms has not yet designed for your farm.
If you also grow in smaller beds or a home plot, the home-scale guide to choosing and setting up drip, soaker hose or sprinkler irrigation covers equipment sized for that job.