Most first gardens fail for a handful of reasons: the bed was in shade, the soil was never checked, the plot was bigger than the gardener’s free time, or the crops were hard ones.
Knowing how to start a vegetable garden for beginners mostly means doing those jobs in the right order.
This guide covers one small bed, a short crop list and a buying list that stops at what the bed needs.
Work through the sections in sequence. Each decision limits the next one, so choosing seeds first usually means changing them later.
Pick the Spot Before You Pick the Seeds
Sunlight decides more than any other factor.
Fruiting vegetables such as tomatoes, beans, peppers and squash generally want six to eight hours of direct sun a day.
Leafy crops like lettuce, spinach and chard cope with less, and a bed with four or five hours of sun can still grow them well.
A spot with only two or three hours of sun will disappoint with almost everything.
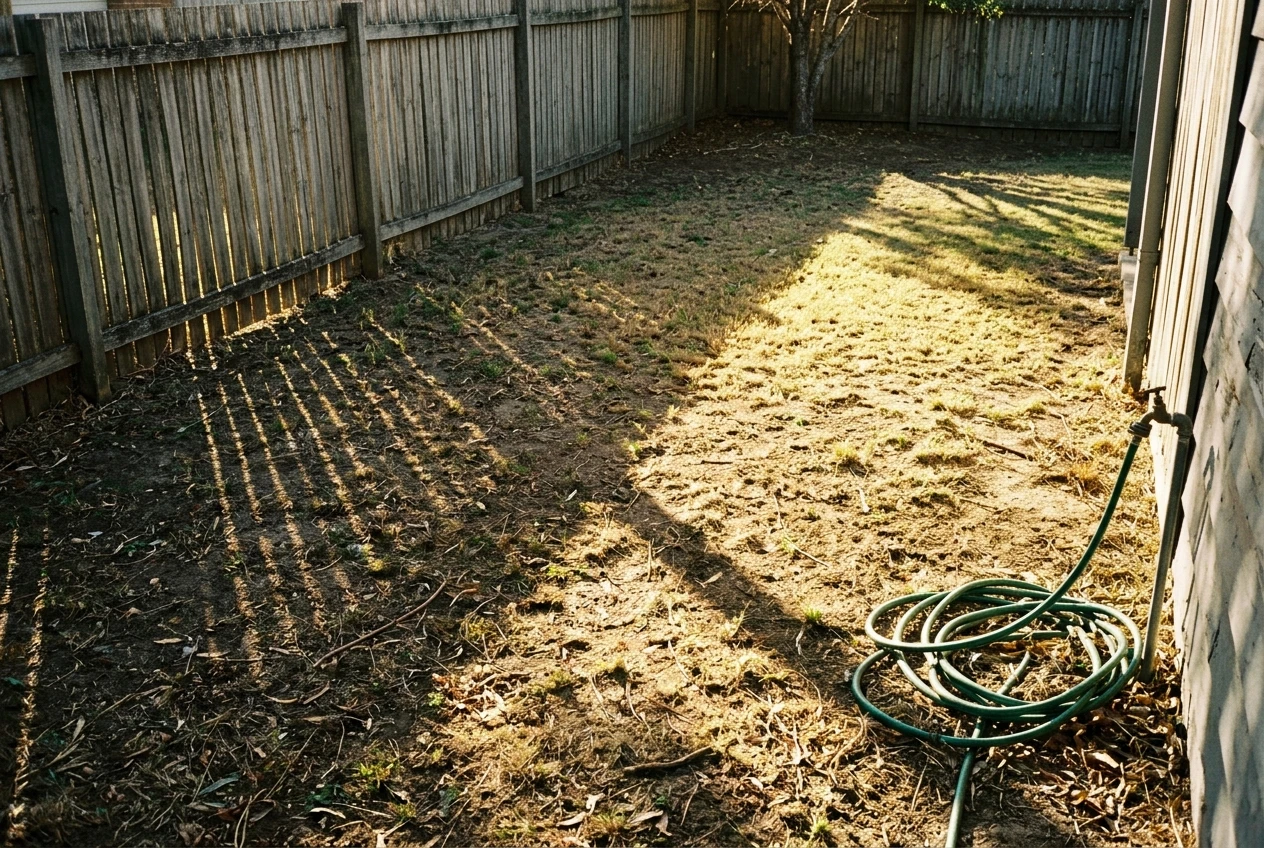
Do not trust your impression of a spot from one visit. Check it at three points in the day, mid-morning, midday and mid-afternoon, and note where the shadows from fences, trees and the house fall.
The sun’s path also shifts through the year, so a bed that is bright in summer can be shaded in spring, when early crops are growing.
After light, check these four things:
- Water access. If the hose does not reach the bed, you will carry watering cans in July. Put the bed within easy reach of a tap.
- Drainage. After heavy rain, look for standing water. A spot where puddles linger for a day or more will rot roots, and a raised bed is the better answer there.
- Roots and wind. Mature trees and large hedges take water and nutrients from the soil nearby. A windy corner dries out plants and knocks over tall crops.
- Distance from your door. A bed you pass every day gets watered, checked and harvested. A bed at the far end of the garden gets forgotten.
If the only sunny area is a patio or driveway, containers are a workable substitute, and the sections below apply to them with small changes.
Size the Bed for the Time You Actually Have
A first bed should be smaller than you think you want.
Weeds, watering and harvesting grow with the area, and a large bed that falls behind in midsummer teaches little except discouragement.
A bed about 1.2 metres by 1.2 metres (4 by 4 feet) is a sensible starting size. It holds a useful mix of crops and takes a few short visits a week once plants are established.
The 1.2 metre width matters more than the length: most people can reach the middle of a bed from either side at that width, so you never need to step on the soil.
Walking on a bed compacts it and squeezes out the air roots need.
If you want more growing room, make the bed longer instead of wider. A bed 1.2 metres by 2.4 metres (4 by 8 feet) is still manageable, but treat it as a second-season upgrade unless you know you have the time.
For containers, the same logic applies. A few large pots hold up better than many small ones, because small pots dry out fast and need watering daily in warm weather.
A tomato plant needs a container of roughly 20 litres (5 gallons) or more. Leafy greens and radishes are happy in shallower, wider pots or window-box-style troughs.
Mark out the bed with string or a garden hose laid on the ground and leave it for a few days. Walk around it, imagine kneeling at its edge, and adjust before you dig anything.
Test and Read Your Soil Before You Change It
Adding compost, lime or fertiliser without knowing what the soil already contains is guesswork.
A soil test costs little compared with a season’s worth of wasted seeds and effort. Two checks are worth doing, and neither takes long.
The texture check
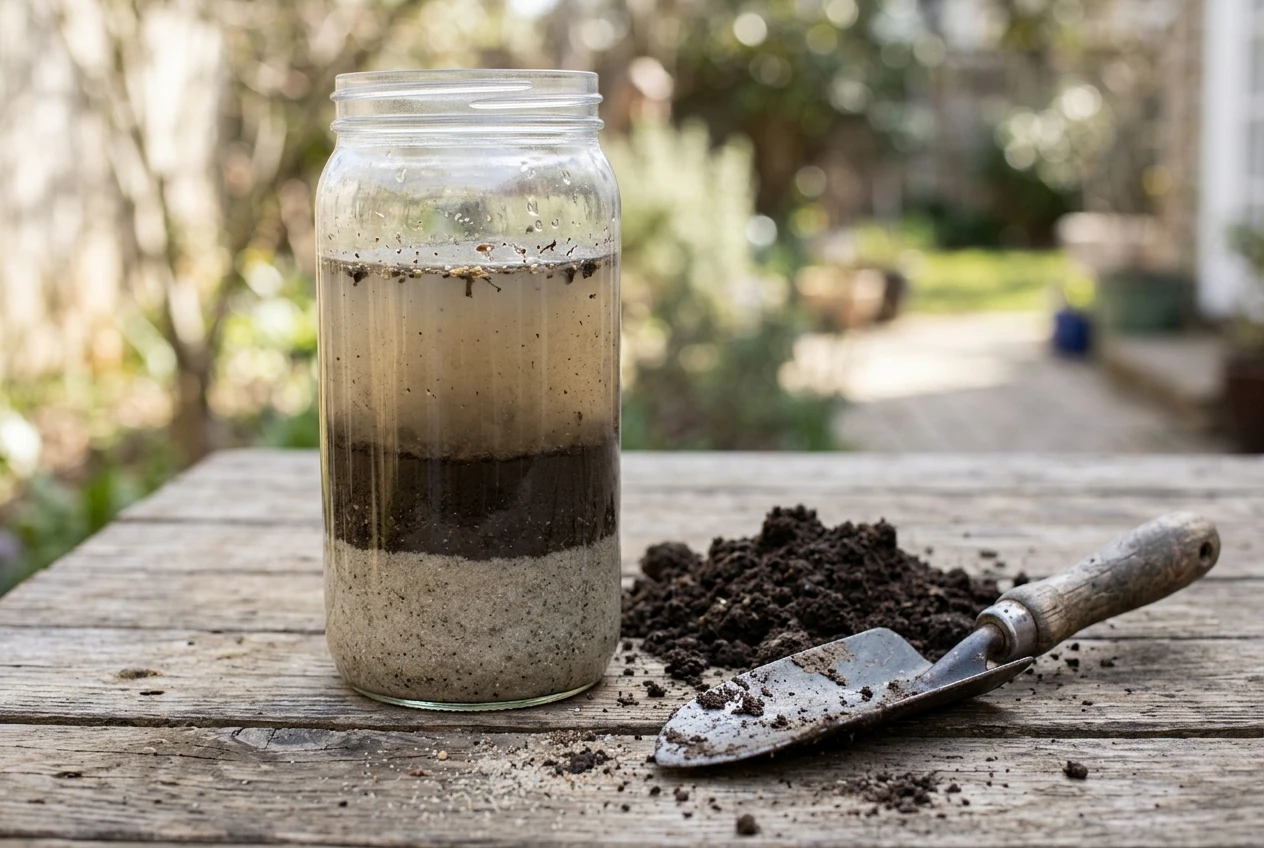
Fill a clear jar about one third with soil from the bed, add water almost to the top, and shake it well. Leave it to settle. Sand drops to the bottom within a minute or so, silt settles over the next few hours, and clay stays suspended for a day or longer.
The layers show roughly what you have: a thick sandy layer means fast drainage and a need for organic matter to hold water, while a thick clay layer means slow drainage and a need for organic matter to open the structure.
In both cases, the answer is compost.
You can also squeeze a damp handful. If it forms a tight ball that does not crumble when poked, the soil is heavy in clay. If it will not hold together at all, it is sandy.
The chemistry check
Most vegetables grow best in soil that is slightly acidic to neutral, with a pH around 6.0 to 7.0.
A home test kit from a garden centre gives a reading of pH and a rough indication of the main nutrients, nitrogen, phosphorus and potassium.
A laboratory test is more precise, and many regional extension or agricultural advisory services offer one for a modest fee.
It also comes with recommendations for amounts, which saves you from guessing.
If the bed is near an older painted building, a busy road, or ground that has had industrial or unknown use, a laboratory test that includes lead is worth the extra cost.
Where lead is a concern, a raised bed filled with clean soil is the safer choice.
Take your samples from several spots across the bed, mix them together, and test the mix. A single sample from one corner can mislead.
Build the Soil: Digging, Compost and Raised Beds Compared
Once you know what the soil needs, there are three common ways to prepare it. Each suits a different starting point.
Digging the bed
Digging suits ground that is already bare or lightly grassed and reasonably free-draining.
Remove the turf, loosen the soil to about the depth of a spade, take out large stones and perennial weed roots, and mix in a few centimetres of compost.
It is the cheapest method and gives roots a loose start.
The drawbacks are labour and weeds.
Turning the soil brings buried weed seeds to the surface, and heavy clay can set into clods if worked when wet.
Dig only when the soil crumbles in your hand, never when it is sticky.
Building up with compost and cardboard
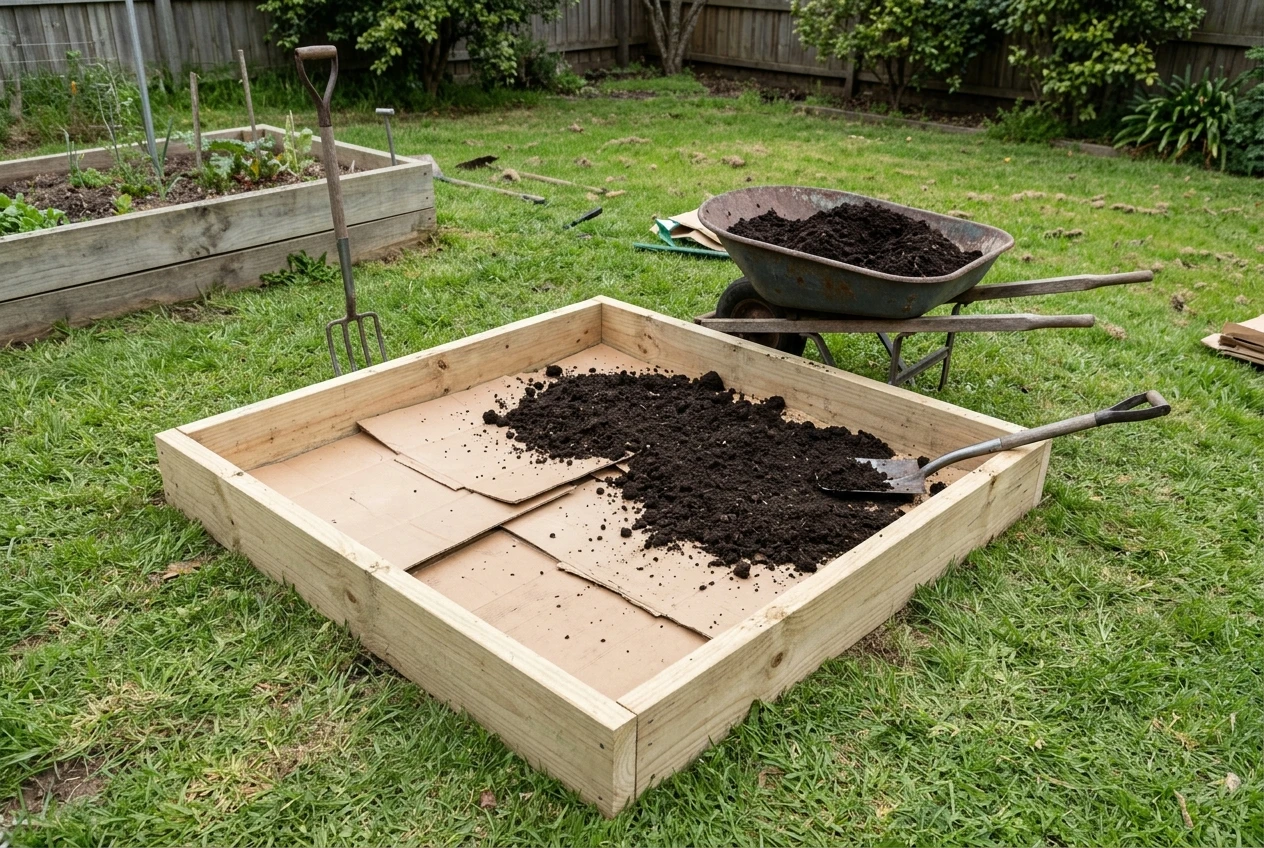
If you would rather not dig, cover the marked area with flattened cardboard, wet it thoroughly, and pile compost on top, about 10 to 15 centimetres (4 to 6 inches).
The cardboard smothers grass and weeds as it breaks down, and the compost becomes the planting layer.
This works well on lawn, takes less effort than digging, and is easy to set up before the season begins.
Allow a few weeks for the cardboard to soften, or plant into the compost layer straight away with larger plants like tomato seedlings.
Raised beds
A raised bed is a frame filled with a mix of topsoil and compost. A height of 20 to 30 centimetres (8 to 12 inches) suits most vegetables.
It is the right answer for compacted ground, poor drainage, or soil you do not trust.
The soil warms earlier in spring, and the clear edges keep paths and growing areas separate.
The costs are the frame and the volume of soil to fill it, which adds up faster than most beginners expect.
Use untreated timber or another material you are comfortable having next to food, and fill the bed with a good quality mix rather than subsoil.
For a small first bed on average garden soil, digging in compost or the cardboard method is enough.
Choose a raised bed when drainage, compaction or contamination points to it.
Whichever method you pick, compost is the main ingredient.
If you also grow flowers, the member guide compost, bone meal or bagged organic feed compares those feeding options for roses, and the comparison between compost and bagged feed is useful when deciding how to feed a vegetable bed as well.
Let your soil test tell you whether the bed needs more than compost.
Choose Your First Crops by What You Eat and What Forgives Mistakes
Grow what you will actually eat.
A bed full of beets is a waste if nobody at your table likes them.
Then narrow the list to crops that tolerate beginner errors such as uneven watering, late sowing and crowded spacing.
A reliable first-bed list of five:
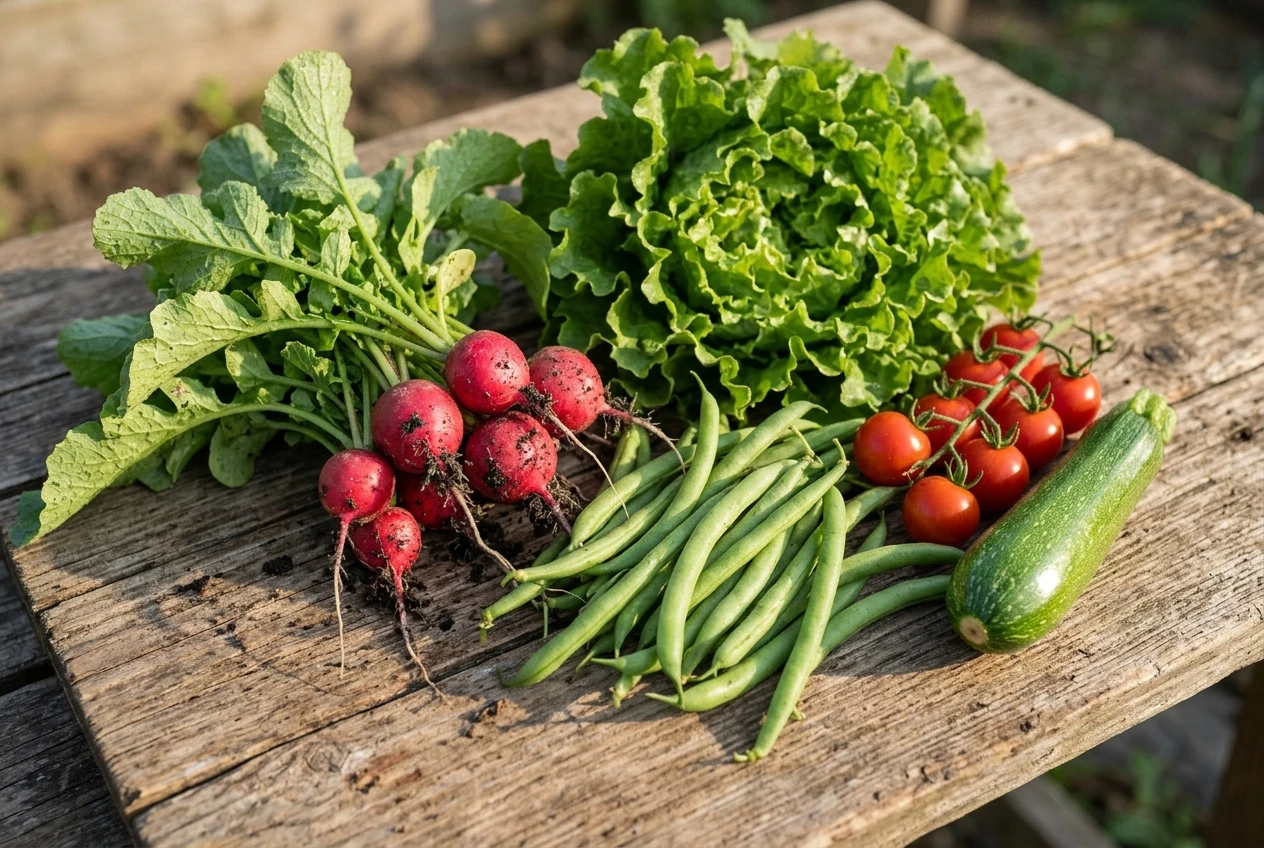
- Radishes. Some varieties are ready in about four weeks from sowing, which gives a quick result and shows you the whole cycle early. They also fill gaps between slower crops.
- Loose-leaf lettuce. Cut the outer leaves and the plant keeps producing. It prefers cool weather and tolerates partial shade, so it suits spring and autumn sowings.
- Bush beans. They grow without supports, sprout readily from large seeds, and crop heavily over several weeks. Picking them regularly keeps the plants producing.
- Cherry tomatoes. They are more forgiving than large-fruited types and give a long harvest. Buying a young plant from a nursery saves the early weeks of seed raising. Most need a stake or cage.
- Courgette (zucchini). One plant produces a lot, so one is enough for a small household. It needs space, about a square metre, so give it a corner of the bed or a large container.
Check the seed packet or the plant label for your climate and timing. Tomatoes and beans are frost-tender and go out only after your last spring frost.
Radishes and lettuce can go in earlier, and they bolt, meaning run to flower and turn bitter, in hot weather.
Leave out crops with long seasons or fussy needs for now.
Carrots need fine, stone-free soil and patience at germination, onions and garlic take months, and melons and aubergines (eggplants) need long, warm summers.
Think about arrangement as well.
Place tall plants such as tomatoes on the side of the bed that will not shade the smaller ones, which in the northern hemisphere is usually the north side.
Put quick crops like radishes next to slower ones so their space is used twice.
Sowing, Spacing and Watering in the First Six Weeks
Early care sets the rest of the season.
Get these basics right and most problems stay small.
Sowing and spacing
Read each seed packet for depth and spacing. A common rule is to plant a seed at about twice its own diameter deep, so fine seeds like lettuce sit barely under the surface and bean seeds go in a few centimetres down.
Typical spacings for the crops above are:
- Radishes: about 2.5 cm (1 inch) apart
- Lettuce: 15 to 20 cm (6 to 8 inches) apart
- Bush beans: about 10 cm (4 inches) apart
- Cherry tomatoes: 45 to 60 cm (18 to 24 inches) apart
- Courgette: one plant with about a square metre to itself
Seeds sown thickly will come up thickly, and the temptation is to leave them.
Thin them to the final spacing once the seedlings have their first true leaves.
Crowded plants compete for water and light, and all of them end up smaller. Snip the extras with scissors at soil level instead of pulling, which disturbs the roots of the plants you are keeping.
Watering
Seeds and seedlings need steady moisture to germinate and establish.
Keep the top few centimetres of soil damp but not soaked until seedlings are up.
After that, water less often and more deeply, which pushes roots down and makes plants more resilient than frequent light sprinkles do.
As a starting point, vegetables generally need about 2.5 cm (1 inch) of water a week, rain included. Sandy soil, containers, wind and hot weather push that up.
Check by pushing a finger into the soil: if it is dry at the depth of your first knuckle, water.
Water at the base of the plants in the morning, so leaves dry during the day and the water reaches the roots before the heat.
Mulch and weeds
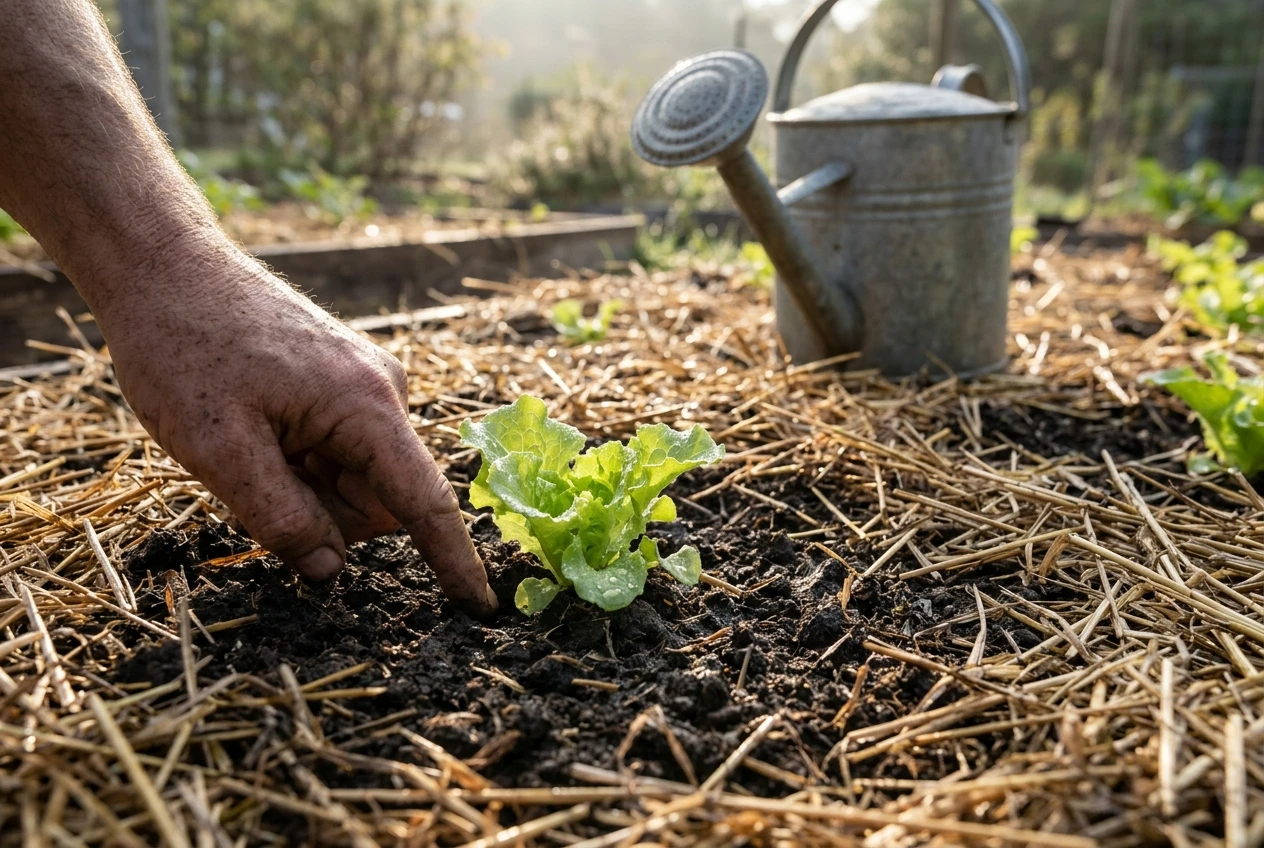
Once seedlings are established and the soil is warm, spread a layer of mulch, 5 cm (2 inches) of straw, shredded leaves or dry grass clippings, around the plants but not touching the stems.
Mulch holds moisture in the soil and keeps most weeds from germinating.
Pull the weeds that do appear while they are small, since they come out easily and have not yet competed with your crops.
A simple weekly routine
In the first six weeks, a short visit every two or three days is enough: check moisture, look for slugs or chewed leaves, thin or weed if needed, and tie up tomatoes as they grow.
Catching a problem when it affects one plant is much easier than after it has spread.
The Starter Shopping List: Seeds, Soil Test, Tools and Watering Gear
A first bed needs far less equipment than most gardening catalogues suggest.
Buy these, and wait on the rest until you know what the garden is missing.
Seeds and plants
- Seed packets of radish, loose-leaf lettuce and bush beans, from a seed supplier that lists days to harvest and sowing times for your region
- One or two cherry tomato seedlings and a courgette seedling or packet, from a local nursery or a seed supplier
Soil
- A soil test kit for pH and main nutrients, or a laboratory test from your regional advisory service
- Compost in the quantity your bed needs. Measure the area and multiply by the depth to estimate volume before you buy
- Any amendment the test recommends, such as lime for acidic soil or a balanced fertiliser for a nutrient shortage, and only that
Tools
- A spade or garden fork for digging and edging
- A hand trowel
- A hard rake for levelling the bed
- A pair of garden gloves and scissors for thinning and harvesting
Watering gear
- A watering can with a rose (the sprinkler head) for seedlings, or a hose with a spray attachment
- A soaker hose or simple drip line, if you want to cut daily watering to a quick turn of a tap
- A bag of mulch such as straw
Support
- A few stakes or a tomato cage, plus soft ties
You do not need a rotavator, a soil pH meter beyond the basic kit, pesticides or specialised feeds for a first bed. Add them later only if a specific problem calls for them.
Take the starter shopping list from this guide and choose your seeds, a soil test kit and a basic watering setup before you dig your first bed.