
If you want to know how to plan a home orchard, start with the fact that fruit trees reward decisions made before planting.
Which tree, on which rootstock, in which spot, with which neighbor for pollination: get those right and the trees need modest care.
Get them wrong and no amount of watering fixes it.
This plan follows the calendar.
The big decisions happen in the dormant season, planting happens in early spring, and each season after that has a short list of jobs.
Some trees can give a small first harvest by year three, particularly dwarf and semi-dwarf apples, peaches and plums, while others take longer.
The plan also covers what to expect from each.
Start in winter: settle your site before you buy a single tree
Winter is the cheapest time to plan, because you can walk the property and think without a nursery order in front of you.
A tree stays where it is planted for decades, so spend this season on the site.
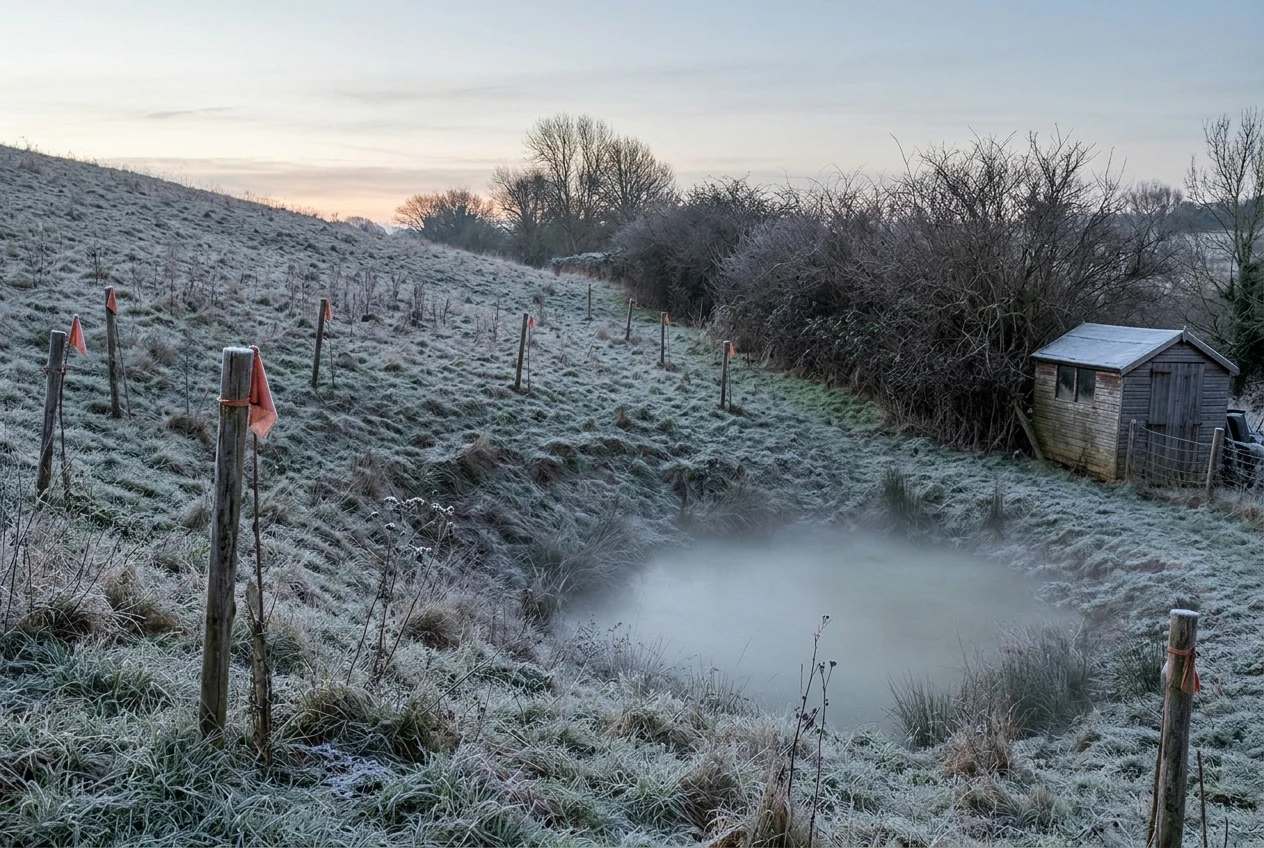
Check five things:
- Sun. Most fruit trees need at least six to eight hours of direct sun in summer. Note where trees, fences and buildings will cast shade once leaves are out, not just how the ground looks in winter.
- Cold air drainage. Cold air flows downhill and pools in low spots, which makes them frost pockets. A late frost during bloom can wipe out a year’s crop, so a gentle slope or the middle of a slope usually beats the bottom of a hollow.
- Soil drainage. Dig a hole about a foot deep, fill it with water, let it drain, then fill it again. If water is still standing many hours later, the site is too wet for most fruit trees. Raised mounds or a different location solve this better than hoping roots cope.
- Soil pH and nutrients. Most orchard fruit does well in slightly acidic to neutral soil. A soil test from your local extension service or a lab tells you where you stand and whether lime or other amendments are needed. Blueberries are the exception and want much more acidic soil, so plan them in their own bed.
- Access and hazards. Find out where water can reach, where buried utility lines run (call your local utility locating service before you dig, which is 811 in the US), and where deer or rabbits come through.
Sketch the property on paper and mark each of these. The spot that satisfies the most items is your orchard, even if it is not the spot you pictured first.
Choosing fruit trees for your climate, space and pollination needs
With the site chosen, decide what to grow. Two limits narrow the list quickly: your climate and your space.
Climate
Start with your USDA hardiness zone, which tells you the coldest winter a tree can be expected to survive.
Then look at chilling requirement. Many apples, pears, cherries and peaches need a certain number of cold hours in winter to flower and fruit properly, and a variety bred for a cold region may bloom poorly in a mild one.
Nursery catalogs and tags usually list both the zone range and the chill requirement, and a local nursery can tell you which varieties have done well nearby.
Bloom time matters as well.
Early-blooming varieties such as many apricots and some peaches are more exposed to late frosts, so they need the better-drained, higher parts of your site.
Pollination
This is where beginners lose the most time. Many fruit trees do not set fruit from their own pollen.
The common patterns are:
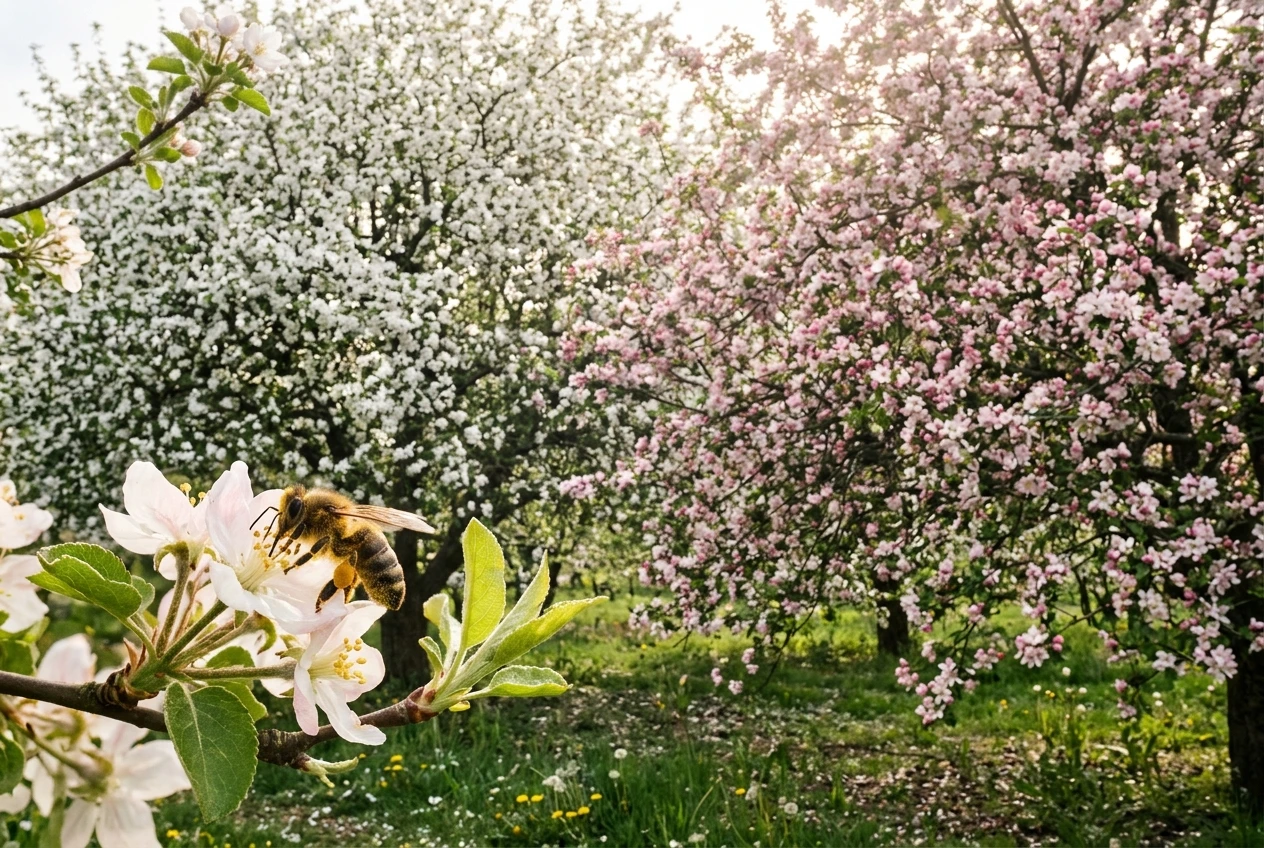
- Apples and most pears generally need a second, compatible variety that blooms at the same time. Two trees of the same variety do not count.
- Triploid apples produce pollen that does not fertilize other trees, so they need two other varieties nearby: one to pollinate them and one to pollinate that pollinator.
- Many peaches, sour cherries and figs are self-fertile and will set fruit alone, though a second tree can improve the crop on some of them.
- Sweet cherries, European plums and Japanese plums vary by variety. Check each one, because some need a partner and some do not.
The tag or catalog entry normally states whether a variety is self-fertile and which varieties pollinate it.
A neighbor’s tree or a flowering crabapple within a short distance can serve as a pollination partner, which can save you a tree if you have little room.
Space
Count how many trees fit before you pick the list.
If you only have room for two or three, choose self-fertile varieties or arrange partners deliberately.
If you have room for more, mix species so one bad spring does not take your entire harvest: a late frost might ruin apricots while the apples escape.
Also pick what your household will actually eat.
A tree that produces more fruit than you can use is work, not a harvest.
Rootstock and tree size: how big your orchard will really get
Nearly every fruit tree you buy is two plants joined together.
The top, the scion, is the variety you want to eat.
The roots, the rootstock, control how large the tree grows, how soon it fruits, how well it anchors, and how it handles your soil.
Apple rootstocks show the range clearly, and other fruits have equivalents:
Tree size | Typical height at maturity | What to expect |
|---|---|---|
Dwarf | Roughly 8 to 10 feet | Fruits earliest, often within a few years. Usually needs a permanent stake and tends to have a shallower root system. |
Semi-dwarf | Roughly 12 to 15 feet | A common choice for home orchards. Fruits somewhat later and is better anchored. |
Standard | 20 feet or more | Lives longest and yields the most fruit per tree, but takes the longest to start and is hard to prune and harvest without a tall ladder. |
Those heights are approximate and vary by variety and soil.
Read the rootstock name on the label and look up the mature size it gives, or ask the nursery directly.
A tree sold as “apple” without a rootstock named is not telling you enough to plan around.
For most home orchards, dwarf and semi-dwarf trees are the practical option.
They fruit sooner, they are easier to reach for pruning and harvest, and you can fit more varieties in the same ground.
That matters for pollination, and it is also how you stretch a harvest across several weeks.
Spacing follows from size.
Crowding trees to fit more in produces shade, poor airflow and more disease, and the trees then need heavy pruning to stay manageable.
Use the spacing the nursery gives for your rootstock and mark each planting spot with a stake or flag now, while you can still change the layout cheaply.
Early spring planting: bare-root or container, and how to set the tree in the ground
Bare-root trees are sold dormant, with no soil around the roots, and they are normally available in late winter and early spring.
They generally cost less than container trees and offer a wider choice of varieties.
The catch is timing: nurseries often sell out of popular varieties, so ordering should happen in winter, ahead of when you want to plant.
Plant them as soon as the soil can be worked and before buds break.
Container trees are sold in pots with growing roots and can be planted over a longer window.
They suit a late decision or a replacement, though the choice of varieties is usually narrower.
Check the roots when you unpot one: if they circle the root ball, loosen or tease them out before planting, or they may keep circling in the ground.
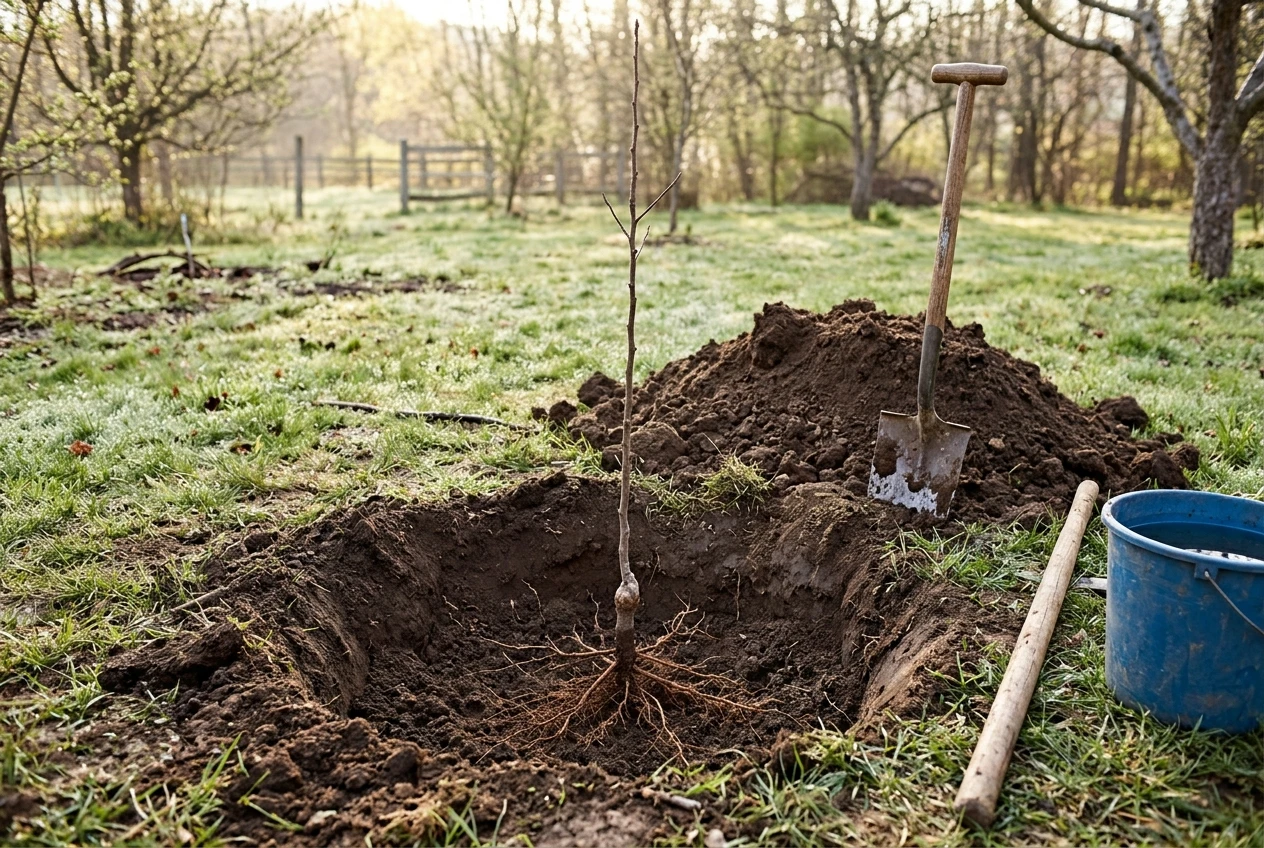
Planting steps
- Soak bare-root roots in a bucket of water for a few hours before planting. Do not leave them for more than a day.
- Dig the hole wide enough for the roots to spread without bending, and no deeper than the root system. A wide hole matters more than a deep one.
- Find the graft union, the swollen bend near the base of the trunk. Keep it a few inches above the final soil line. If it sits below ground, the scion can root and the tree loses the size control of its rootstock.
- Backfill with the soil you dug out. Heavily amending the planting hole can encourage roots to stay inside it, so improve the wider area instead if the soil needs it.
- Firm the soil and water well to settle it around the roots.
- Stake dwarf trees if the rootstock calls for it, using a tie that will not cut the bark.
- Mulch in a wide ring, but keep it a few inches back from the trunk. Mulch piled against bark holds moisture there and invites rot and rodents.
Do not fertilize at planting. Fresh roots can be burned, and the tree has nothing to feed until it starts growing.
The first growing season: watering and feeding young trees
In the first year the tree is building roots, and its needs are simple: steady moisture, clear ground around the trunk, and very little fertilizer.
A young tree has a small root system, so it dries out faster than an established one.
A deep soaking once a week is a common starting point when rain is absent, though sandy soil and hot weather call for more and heavy clay for less.
Push a finger or a trowel into the soil near the root zone: if it is dry a few inches down, water.
Frequent light sprinkling encourages shallow roots, so water slowly and thoroughly.
How you deliver water matters as much as how much. Slow drip lines or soaker hoses put water at the roots and keep the trunk and foliage dry, which helps reduce disease.
Our guide to drip, soaker hose or sprinkler covers how each option works and how to set one up, and the same principles apply to a ring of young trees.
For feeding, wait until the tree has started to leaf out, then apply a modest amount of a balanced fertilizer or compost according to the product label.
More is not better here. Excess nitrogen produces soft, leafy growth that is easier for pests and cold to damage, and fertilizing late in summer pushes new growth that will not harden before winter.
Keep a circle of bare or mulched ground around each trunk. Grass and weeds compete with young roots for water and nutrients, and a clear circle also keeps mowers and string trimmers away from the bark.
If the tree flowers in its first spring, many growers pinch off the blossoms so that its energy goes into roots and branches. It costs you one small harvest and helps the tree for years.
Summer and autumn care: pests, thinning and protecting young bark
Summer is mostly observation.
Walk the trees every week or so and look at the leaves, the shoot tips and the base of the trunk.
Aphids on new growth, chewed leaves, curled foliage and spotted fruit are all easier to deal with when you catch them early.
Prevention does most of the work.
Keep the ground under the trees clear of fallen fruit and leaves, which can harbor insects and disease over winter.
Space and prune for airflow, and water at the base rather than over the leaves.
The habits in our guide on keeping pests off your vegetables before they arrive carry over to fruit trees: inspect often, remove problems by hand while they are small, and choose the gentlest effective option first.
Thinning fruit
Thinning applies once a tree begins to set fruit, usually in year two or three.
When fruit is small, remove some so those that remain can size up. For apples, a common rule is to leave one fruit per cluster and space the remainder several inches apart.
Overloaded branches can break, and a tree that carries too much in one year often skips the next, a pattern called biennial bearing.
Thinning feels wasteful, but it improves fruit size and protects the branches.
Protecting young bark
Young bark is thin and easily damaged, and the damage is often done in autumn and winter, not summer.
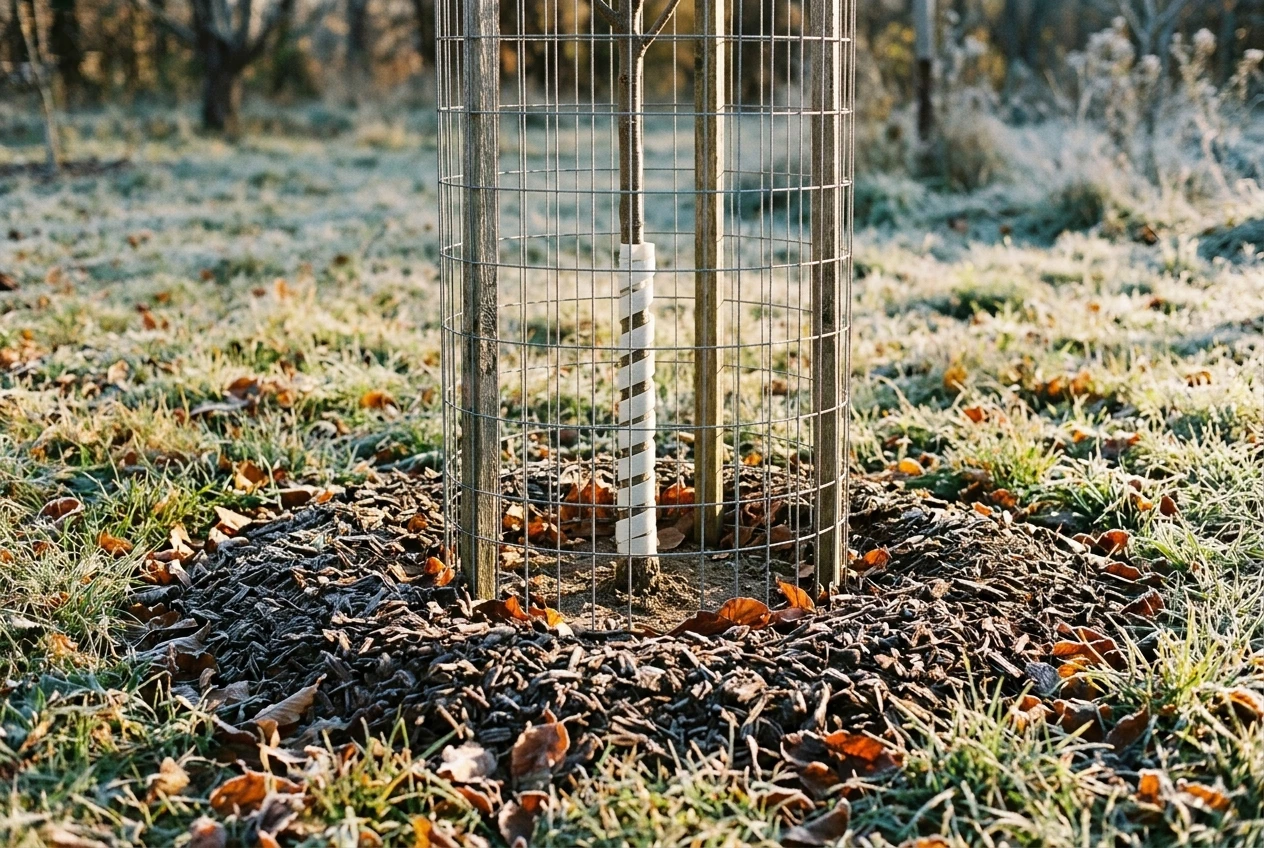
- Rodents and rabbits chew bark when other food is scarce. A rigid tree guard or a wire mesh cylinder around the trunk prevents this. A tree girdled all the way around its trunk will usually die.
- Deer browse young branches and rub antlers on trunks. Fencing or tall cages are the dependable fix where deer are common.
- Sunscald happens on bright winter days when the sun-warmed bark freezes again at night and cracks. Light-colored guards or wraps on the south and southwest side of the trunk reduce it.
- Mower and trimmer damage is avoidable with a mulch ring.
Install guards in autumn, before the first hard frost, and check them in spring to make sure they have not become tight as the trunk grows.
Dormant-season pruning: shaping trees in years one to three
Pruning returns to the dormant season, so the calendar comes full circle. In late winter, before buds swell, you can see the structure of the tree clearly and decide what stays.
The first goal is a strong frame. Two common shapes:
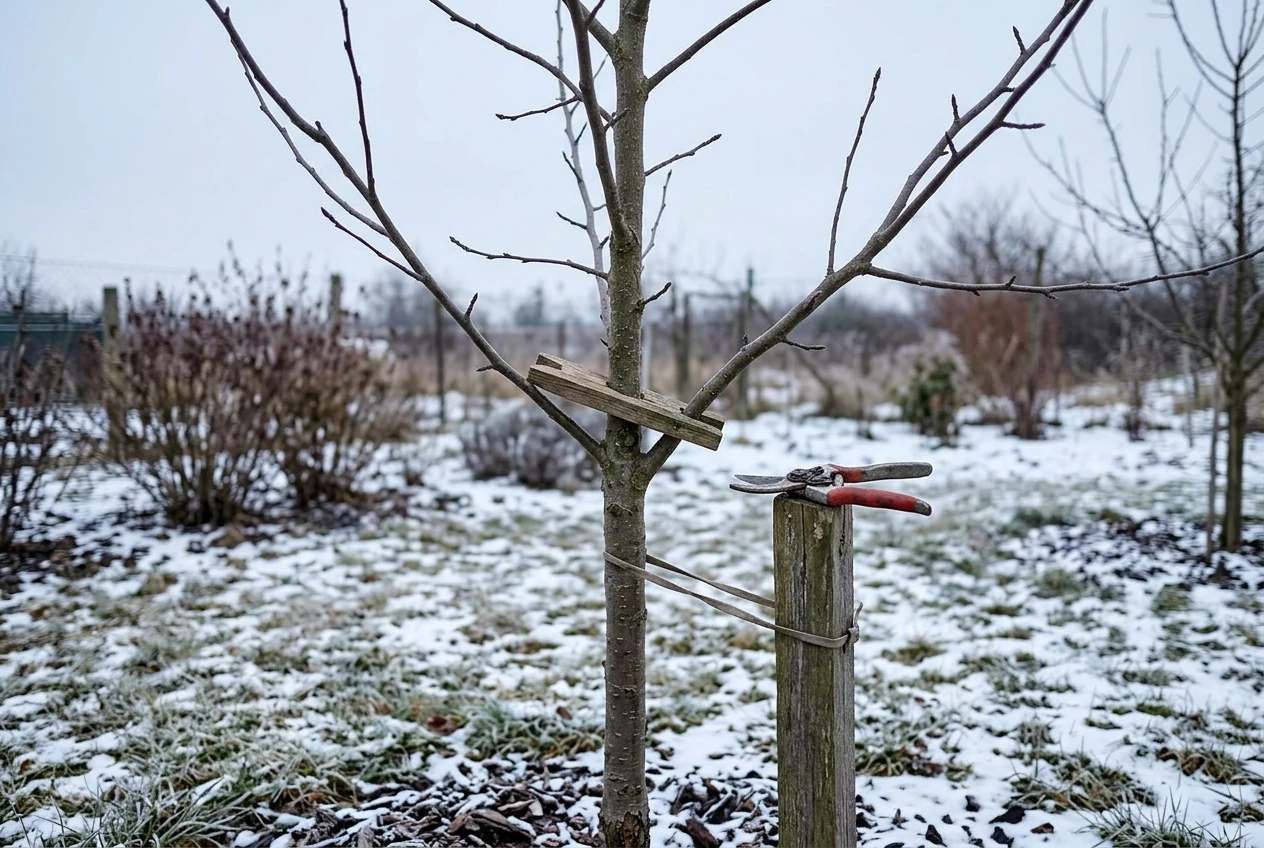
- Central leader, used for most apples and pears. One main upright trunk with side branches spaced around it, wider at the bottom and narrower at the top so light reaches every level.
- Open center or vase, used for peaches and many plums. The central trunk is removed early to leave three or four main branches angled outward, which opens the middle to sun and air.
Year one
An unbranched young tree, called a whip, is typically cut back at planting to encourage side branches, with the nursery giving a recommended height for the type you have.
Over the first growing season, let the tree grow, and in the following winter choose the best-placed shoots as your first main branches.
Remove shoots that point inward or cross others.
Year two
Select main branches with wide angles to the trunk, because narrow angles form weak joints that split under a heavy crop.
Spreaders, small wooden or plastic braces, can widen a branch angle on young wood.
Remove vertical shoots that compete with the leader, and shorten overlong branches if the tree is getting leggy.
Year three
Keep the structure open and begin to prune lightly for fruiting wood.
The temptation is to cut a lot. Resist it.
Heavy pruning on a young tree pushes vigorous, unfruitful shoots, and removing more than a modest share of the canopy in one winter sets the tree back.
Timing differs by type. Apples and pears are normally pruned in late winter.
Stone fruit such as cherries, plums and apricots are more prone to certain diseases entering through winter pruning cuts, so many growers prune them in summer or just as growth starts.
If you are unsure, ask your nursery or extension office for the recommendation for your region.
Use sharp, clean hand pruners and loppers, and make cuts just outside the branch collar. Dull tools crush wood and leave ragged wounds.
What to expect in years two and three, and what to buy when
Year two is for structure and consistent care.
The tree is larger, the roots are established, and it may carry a few flowers.
Keep watering through dry spells, keep the mulch ring tidy, prune to shape, and start thinning if fruit sets.
By year three, some trees begin to give a real, if small, harvest.
Dwarf and semi-dwarf apples, peaches and plums are the usual early producers.
Cherries, many pears and standard-rootstock trees can take longer, sometimes several more years.
Expect a few fruit in the first crop, not a full basket, and let the numbers climb as the tree grows.
Berries such as raspberries and blueberries fruit sooner and are a good way to fill the gap while trees mature.
What to buy, and when
Spread spending across the three years instead of buying everything at once.
- Before planting (winter): soil test, trees on the right rootstock, stakes and ties, and bark guards.
- At planting (early spring): mulch, and a way to water the root zone, such as drip line or soaker hose.
- Year one (summer to autumn): a hose or watering setup that reaches every tree, and a basic balanced fertilizer.
- Year two: quality hand pruners, loppers and a small pruning saw.
- Year three: additional varieties for pollination or a longer harvest season, plus netting or other protection if birds take the fruit.
Buy trees from a nursery that names the variety and rootstock and can tell you which pollination partners suit your area.
A cheap, unlabeled tree can cost you years if it turns out to be the wrong size or has no partner.
Your next step
Look up your hardiness zone, shortlist two or three varieties, and ask a local nursery which ones suit your area before bare-root ordering opens.